
I wish that I could water all of my vegetables by hand all the time, but as my family has grown so necessarily has my vegetable garden, and I’ve decided to accept the costs and wastes of watering with sprinklers and driplines in order to save time.
During a Southern California summer in particular, vegetables need water so often that I can no longer irrigate by hand in that season. But summer is over!
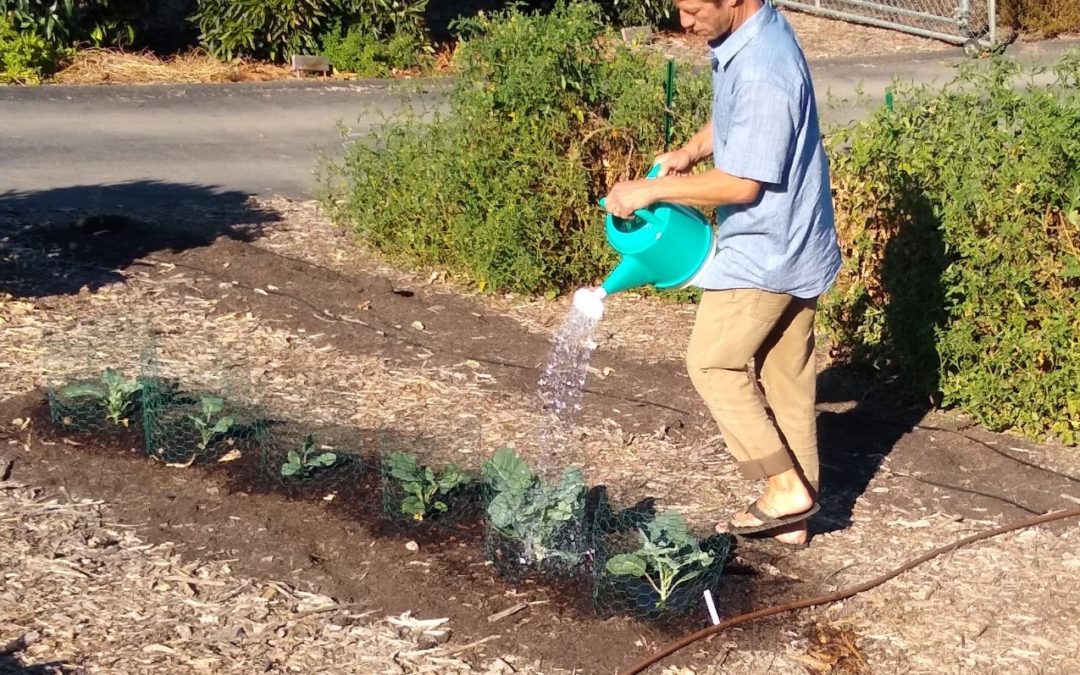
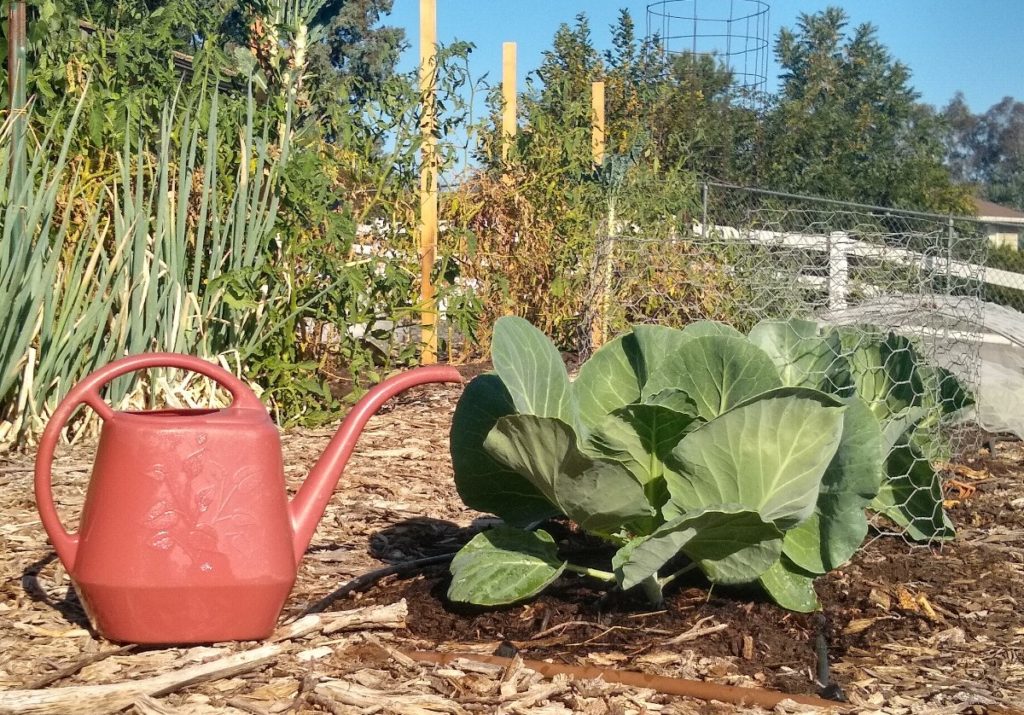
I’m pleased to have a watering can back in hand. I probably won’t run the driplines again until late spring. This post is about why I enjoy handwatering vegetables, and it’s also about how I’ve learned to do it better.
Precision of water placement
The first thing I like about handwatering is how precisely you can place the water. Wasting water irks me so much that I get a lot of satisfaction from being able to put in a cabbage seedling and then water it exactly where I know its roots are.
With my driplines, by comparison, I’ve got water coming out of emitters every nine inches along the whole stretch whether or not there are plants and roots there.
Ability to vary water volume per plant
I also like that with a hose or watering can, you can vary how much water you give each plant. Often, I end up with plants of different sizes and different water needs next to each other in a garden bed. This makes waste inevitable when using driplines or sprinklers.
Can use rainwater
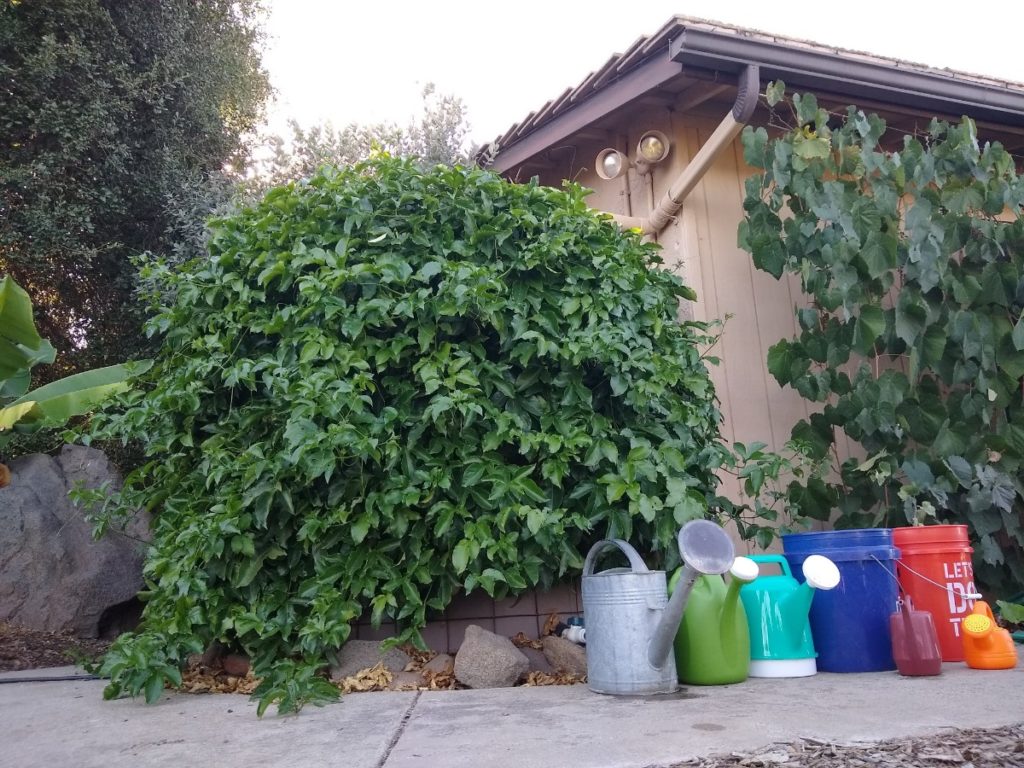
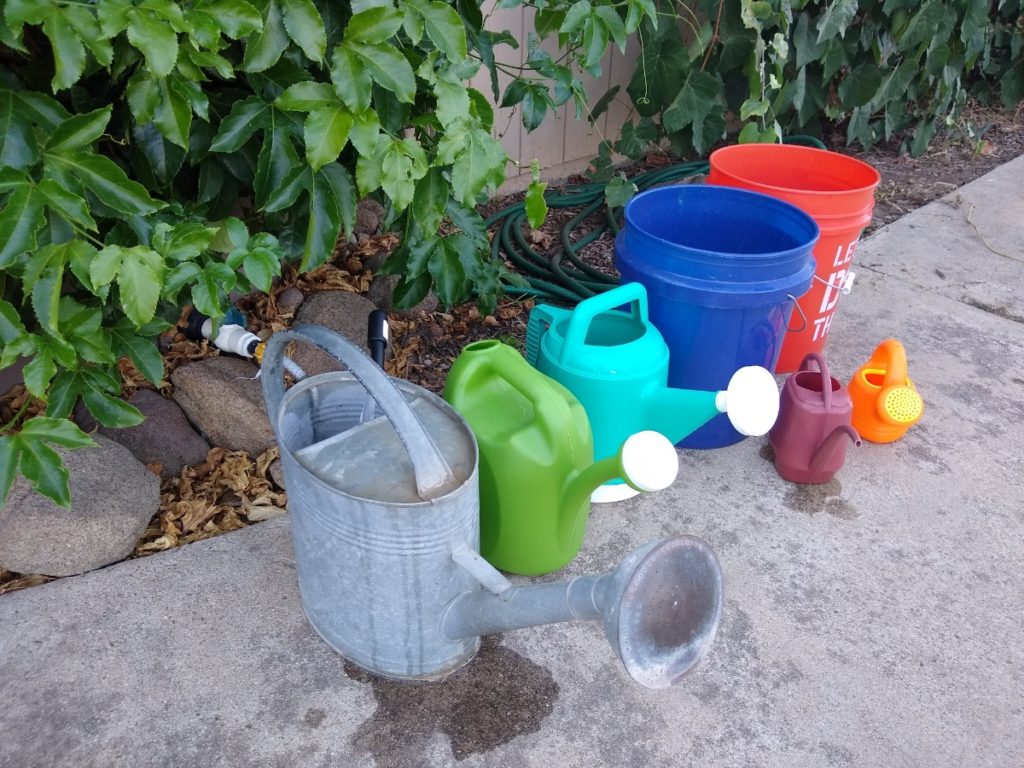
When handwatering, I use a hose occasionally, but more often I use a watering can because that is a convenient way to use rainwater from my tanks. And rainwater is the best on Earth, being slightly acidic and almost clear of salts.
Great seed germination
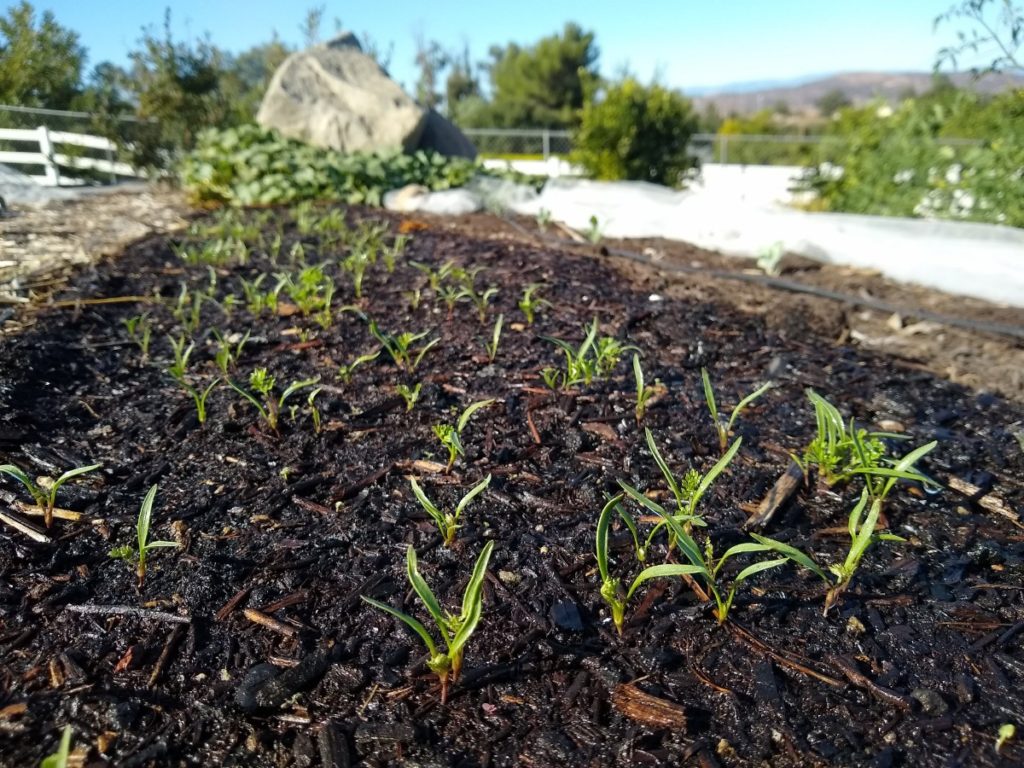
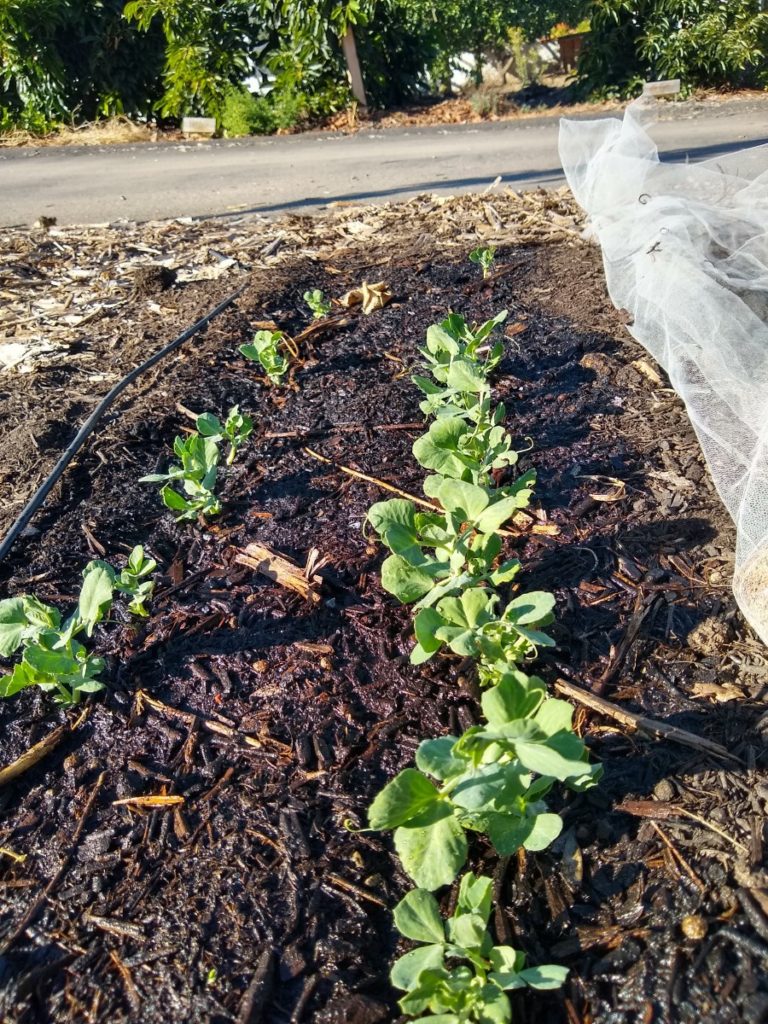
Outside of summer, I start more vegetables by direct seeding, and I’ve found that when I sow carrots or peas right into the garden dirt, for instance, I get excellent germination through handwatering. With carrots, it works well to wet a broad area, then scatter seed, cover with a little compost, and lightly handwater once more. Giving the area a sprinkle every day or so, according to the weather, brings certain carrot seed sprouts.
(See my post, “Growing carrots in Southern California.”)
With peas, I like to make drills — or little furrows — with a rake or stick and then water the drill with a stream of water from a can. (You can take the rose off the can to make it stream.) This is especially necessary in fall before it has rained. Once the soil below the drill has been wetted around a foot deep, you sow the peas, water lightly one last time, and don’t water again until the plants have sprouted and are at least a few inches tall.
(See my post, “Growing peas in Southern California.”)
Makes me visit plants often
Perhaps my favorite benefit of handwatering is that it requires you to walk around the garden and get within a couple feet of all of your plants. I try to use the constant visits to notice how each plant is faring. Any cabbage worms on the cabbage? Any aphids on the broccoli? Anyone munching the lettuce? You end up nipping most problems in the bud.
Handwatering better and faster
Though handwatering takes more time and effort, I’ve learned to do a few things to speed it up and make it most effective. One thing that I make sure to do is have compost or wood chips covering the soil surface, which helps water to infiltrate the soil rather than run off. This is extremely helpful with certain soils that form a crust on the surface when they dry.
Sprinkle first, water later
I’ve also learned to think of watering by hand as a two-stage process. First, you walk around putting down a light sprinkling on every plant. If the surface is dry — and it usually is — then the water will just pool on top at first. But then you return after a few minutes, sometimes as many as fifteen, and you find that the water has soaked in. The bits of compost and soil have lost their hydrophobia, and you can now begin the second, real stage of watering.
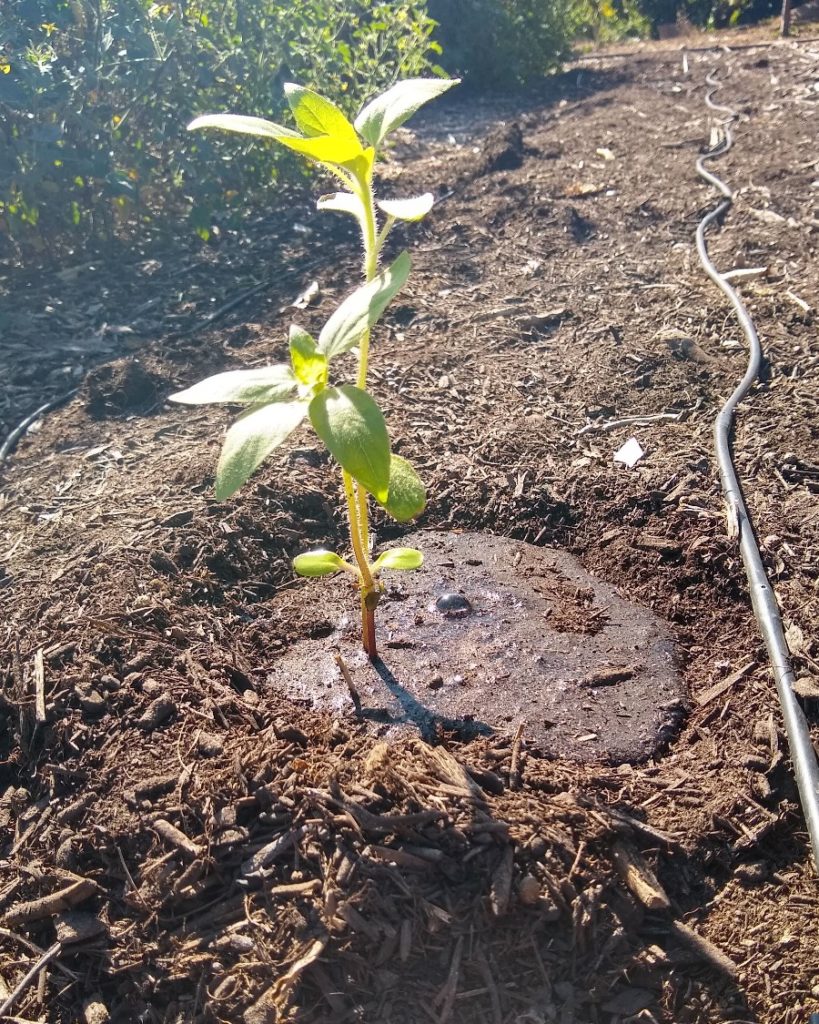
Make hollows around seedlings
Finally, since my garden is on a slope, I’ve learned to do one more thing to help to keep water near the plants where the roots are rather than running off. I form little hollows, like concave donuts, around vegetable seedlings when I plant. Over time they erode, but that’s okay because it’s only especially needed during the seedling stage.
My water bill was higher than expected for late summer this year, and I know that was due in part to inefficiently running my driplines in the vegetable garden. I was telling my five-year old son about this the other day and he pointed out that even though I was wasting some water, “At least the plants are getting the water they need.”
Good point, young man. Way to make your father feel better.
But next summer I’ll do better. In the meantime . . .
You might also like to read my posts:
Dealing with aphids on broccoli, brussels sprouts, cabbage, and cauliflower


Thank-you so much, I really appreciate your posts! Robin in Dana Point
You’re the first person who sees it my way when it comes to watering. Love your newsletter SO much. THANK YOU!
Oh my gosh I finally understand how to deal with hydrophobia!!! I didn’t know it needed time to SOAK… that’s why it’s not hydrophobic with rain….
That’s a great observation, Shalom. Almost always before it rains, the humidity gets high, it sprinkles here and there, and then the rain begins to fall. The soil has been prepared to receive it.
Thank You, Greg! I love the process of hand-sprinkling my plants and talking to them as I walk by.