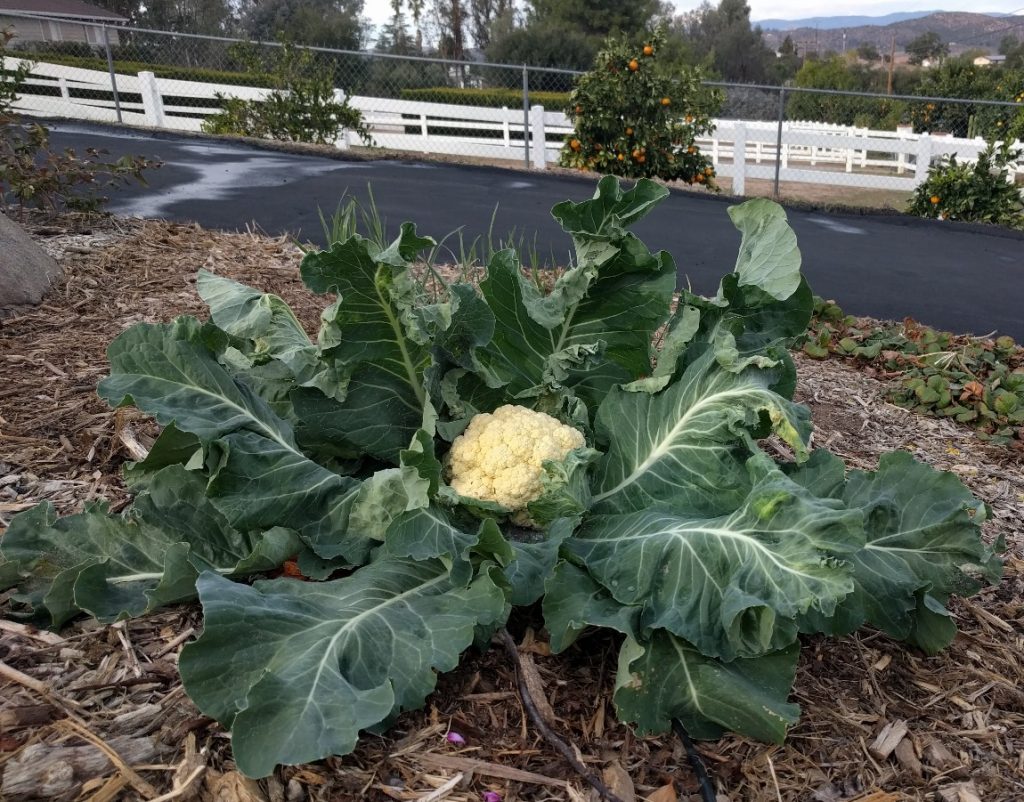
Growing good broccoli, cauliflower, cabbage, and brussels sprouts in Southern California is all about timing. Summer is not the best time to grow “brassicas” but it is a great time to sow them.
You get the seeds started in summer (I’ve started as early as June 21, the first day of summer) and then the plants grow in the garden through late summer and fall, and you’ll likely harvest around Thanksgiving, certainly by Christmas.
But it’s hot outside! Why not just wait and buy seedlings at the nursery in September? That’s a great idea. I do that some years, especially if I’ve got a vacation planned between now and then.
There are a couple of advantages to sowing your own brassicas though. You can buy seeds of almost every variety, but you never know what a nursery will have. For example, this year I’m trying ‘Snow Crown’ cauliflower because it is a favorite of Roy Wilburn, the California Gardener of the Year. Roy told me that he always uses ‘Snow Crown’ for his first planting in August (from seed sown around six weeks prior). I’ve never seen this variety sold as a seedling in nurseries.
With practice you can grow even better seedlings than are available at a nursery too, in terms of vigor, and because you can choose what to spray or not spray them with.
How to start seeds in summer heat though? That is the challenge, and that is the focus of this post.
Sow in ground or trays?
I’ve sown brassicas directly in the garden soil in summer, but it’s very hard to keep the soil moist and sometimes when the seedlings emerge they get blasted by a heatwave. I now exclusively sow them in trays indoors because the germinating environment is easier to control.
Usually, I use a tray with small modules. Using larger, six-pack size modules can also work fine though.
I make a shallow dent in the seed-starting mix of each module — never deeper than a finger nail’s length — and drop in one seed. (The mix should already be wet.)
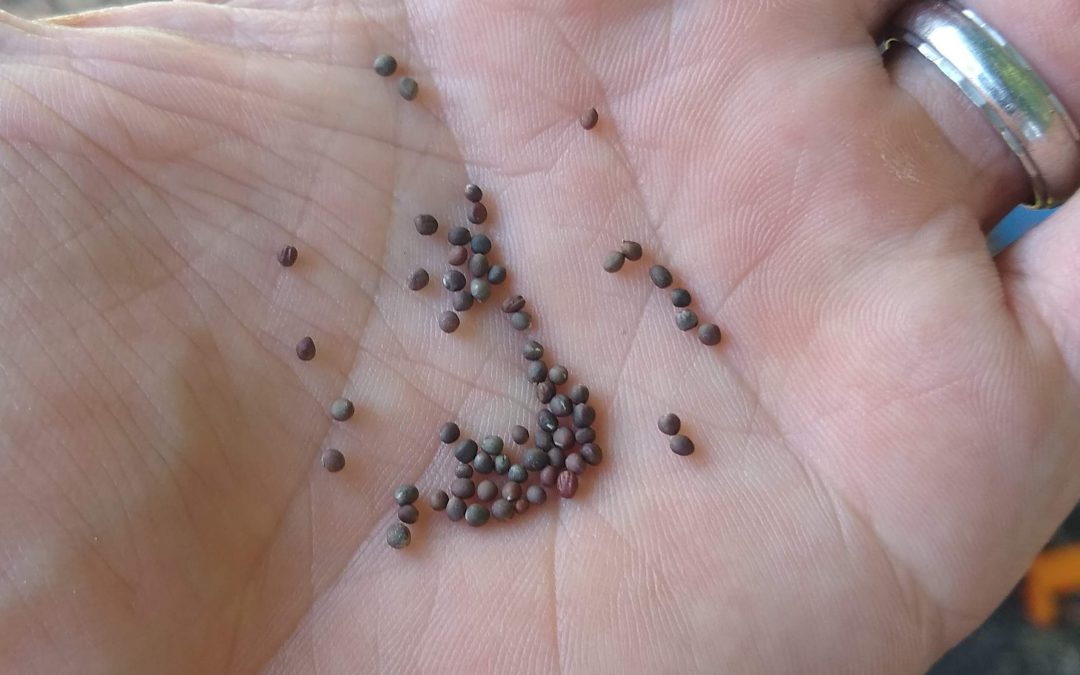
Brassica seeds are small. I spread a dozen on the palm of my hand and grab singles to drop into the dents.
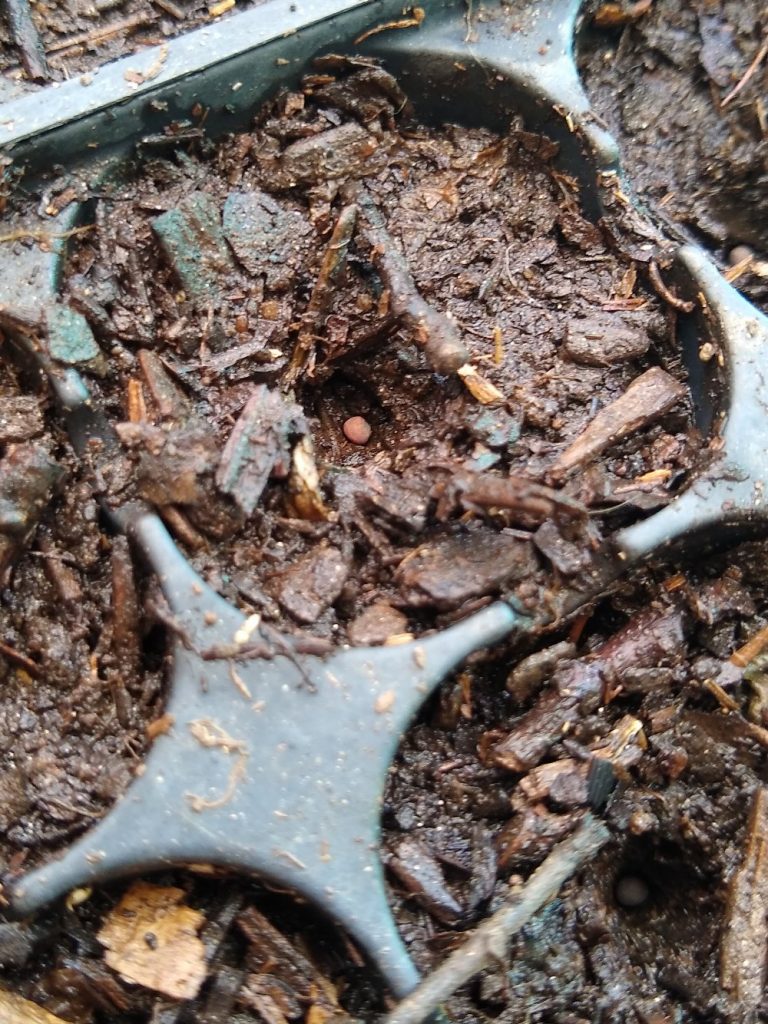
Cover the seed with some seed-starting mix (I use compost) and gently water one last time.
Set trays where?
There is no need to have sunlight on the tray at this time. All you want to do to get the seeds to germinate is make sure they stay somewhat warm. It is said that the optimum soil temperature for germination of brassica seeds is in the upper 70s.
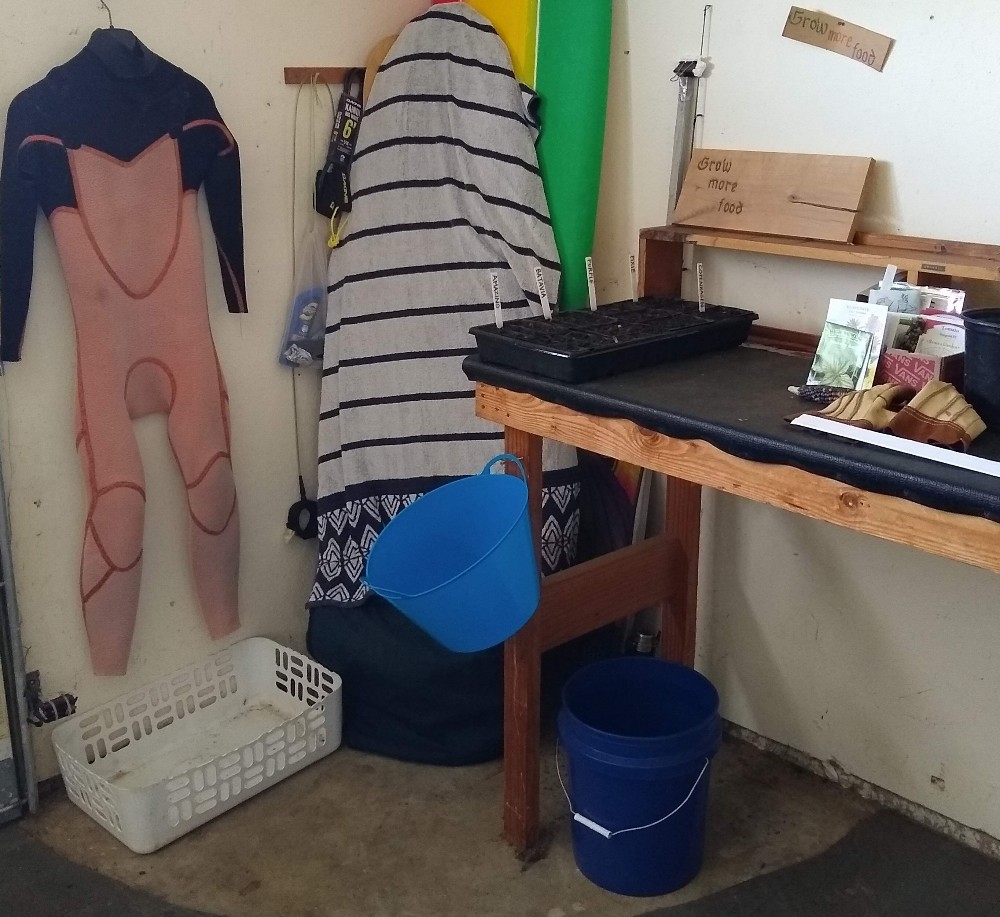
I keep my trays in my garage.
Or under the shade of a tree.
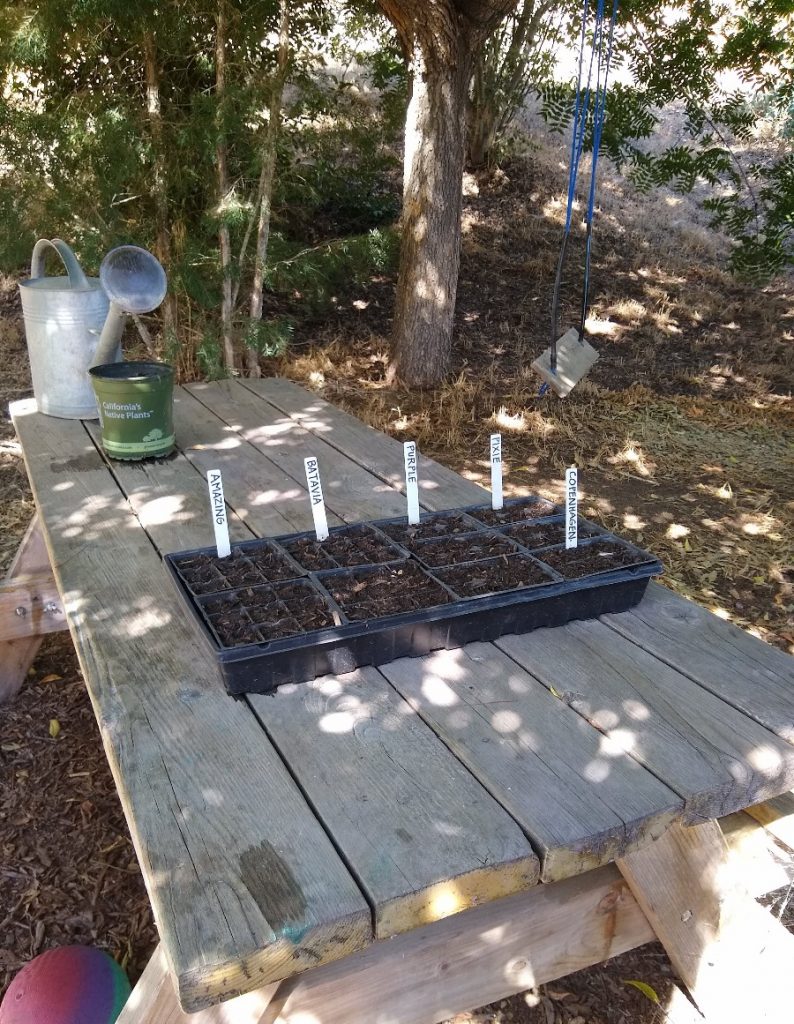
Both of these locations keep the tray not far from the upper 70s temperature ideal.
But the key thing to know is that they don’t need sunlight. Keep them in the shade until they’ve germinated.
Watering trays
Because the tray is not in direct sunlight, it will not need to be watered often, but how often depends mostly on what the seed-starting mix is and how warm it is around the tray. I use compost from my chicken pen to start my seeds in, and this mix is heavier and holds more water than any seed-starting mix I know of that is available at a garden center. This tray in my garage or under the tree will need a sprinkle about every two or three days here in August.
Seeds sown in summer in the garden soil, however, usually need water every day because they are in much sunlight. Similarly, seeds sown in lighter mixes in trays usually need water every day or two because they don’t hold as much water as my chicken compost.
How to tell when to water? I use three measurements. Does the surface of the mix still look dark (as it does when wet)? Does the surface of the mix feel sticky (as it does when wet)? And how heavy is the tray? Water is heavy so if there is still a lot of moisture in the mix it will feel heavy.
Do not let the surface of the mix dry out more than slightly until the seedlings emerge. Better to risk overwatering at first rather than letting it dry too much, which can happen rapidly in August.
After germination
Brassica seeds sown in the warmth of summer germinate in about a week. As soon as they pop up, they need to start eating sunshine. Time to move them into the light.
They do not need to be blasted with full sun all day immediately, however. I put my trays in a wagon, and I place 30 percent shade cloth over them.
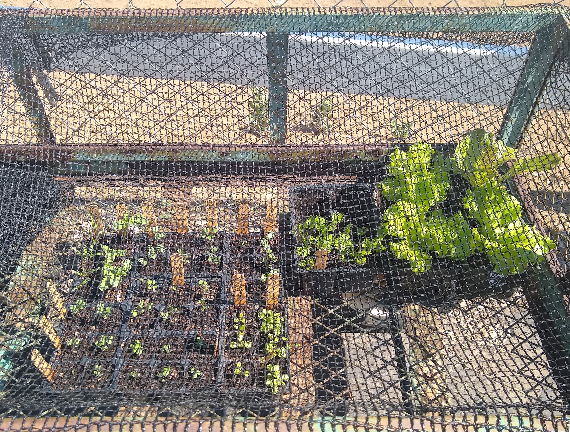
As the tiny plants get a couple more leaves, I give them more sunshine until they’re in full sun for most of the day except for on the hottest days. The more sunshine they receive and the more leaves they have, the more water they’ll be drinking so daily watering becomes necessary, maybe even twice a day if it’s hot (and depending on the mix they’re growing in).
How much sunlight do the seedlings need?
A sign that the seedlings are not getting enough sunlight is that they have long stems and they do not stand up but rather grow horizontally like a vine.
And a sign that the sunshine is too strong is that their leaves will take on a yellowish, bleached look.
Keep an eye out for white butterflies with black spots on their wings at this point also.
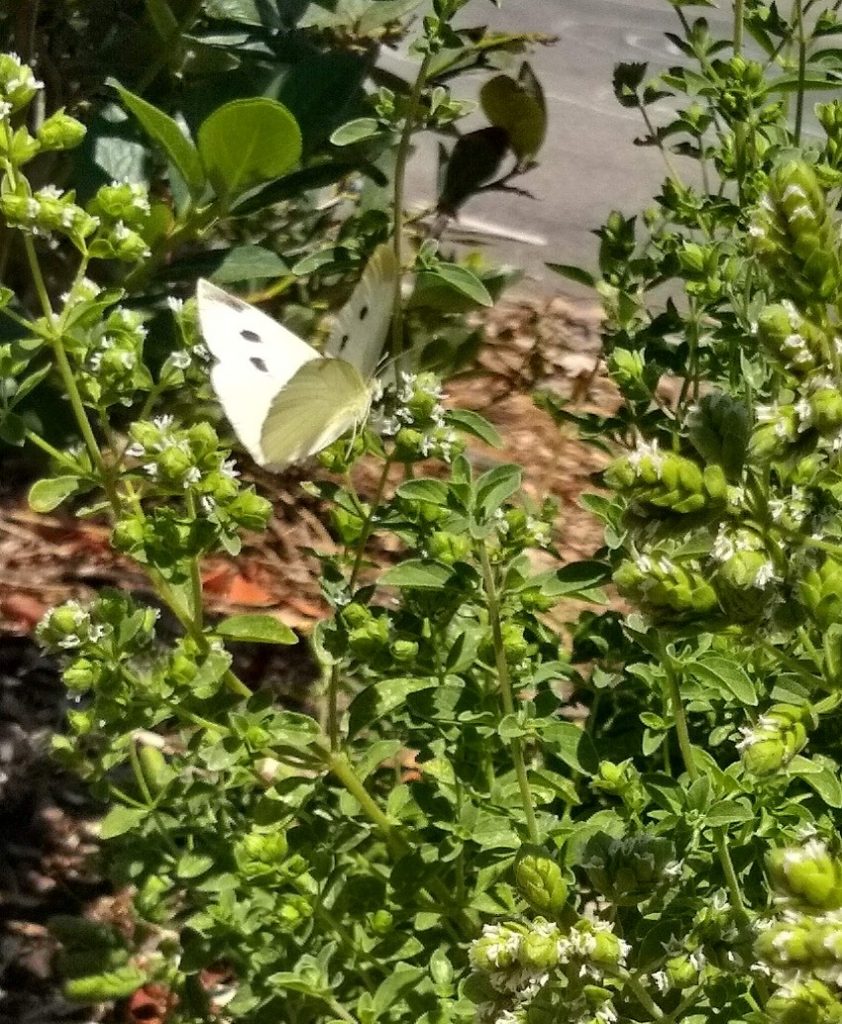
This is the adult form of the cabbage worm (Pieris rapae), and it will lay eggs on the underside of the leaves of your brassica seedlings. The eggs hatch into a small green worm that proceeds to eat the leaves of your cauliflower, broccoli, etc. and grows into a worm nearly the size of your pinky finger. Just lift leaves occasionally to wipe off eggs or young worms. No need to ever spray anything, in my experience.
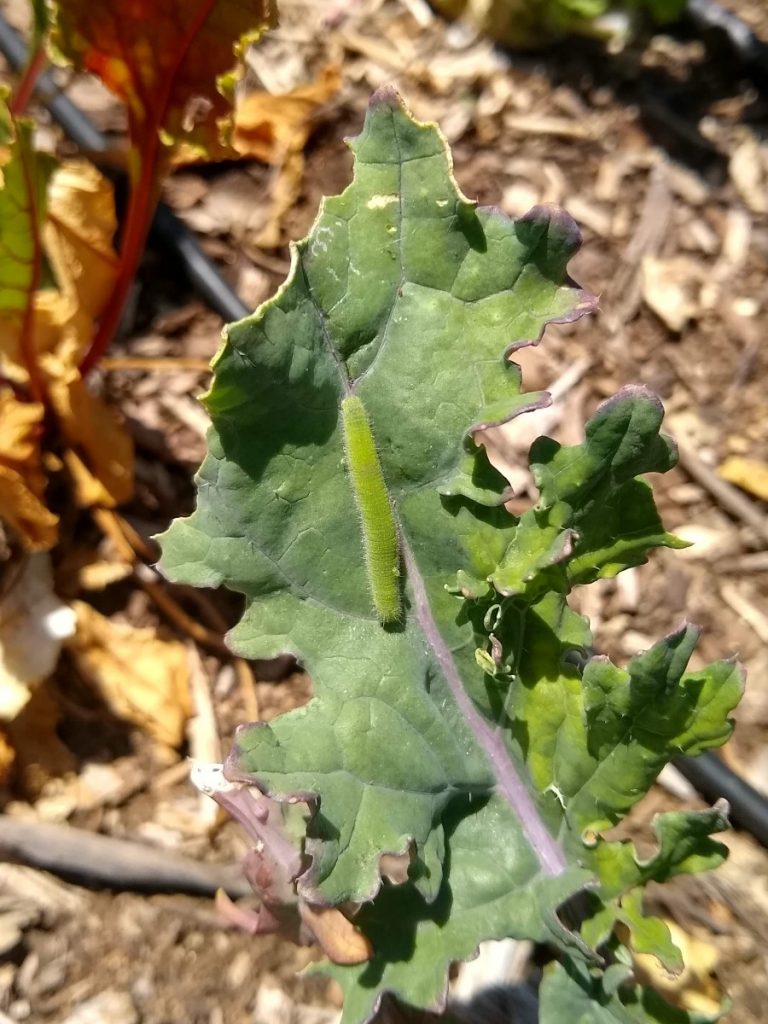
See the University of California’s Integrated Pest Management page on the cabbage worm.
Plant when?
When are the seedlings ready to plant? In truth, they can be planted anytime. One year I did an experiment to see if they preferred to be planted right out of the small modules or to first grow bigger in six-pack size modules. The brassica seedlings that I planted after about six weeks from the small modules grew a little better. So don’t feel like you have to grow them big before planting. But growing them a bit bigger for a few more weeks — to the size you’d buy at a nursery — works fine too.
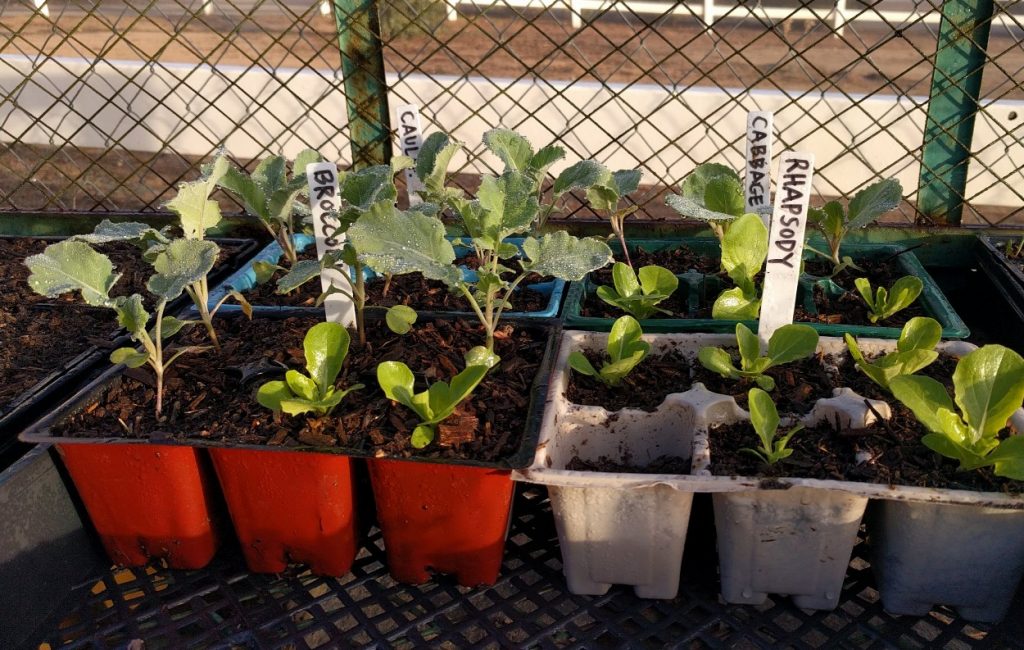
How to grow broccoli and cauliflower (and most other brassicas) from there? Check out my post, “Growing broccoli and cauliflower in Southern California.”
All of my Yard Posts are listed HERE



Recent comments