
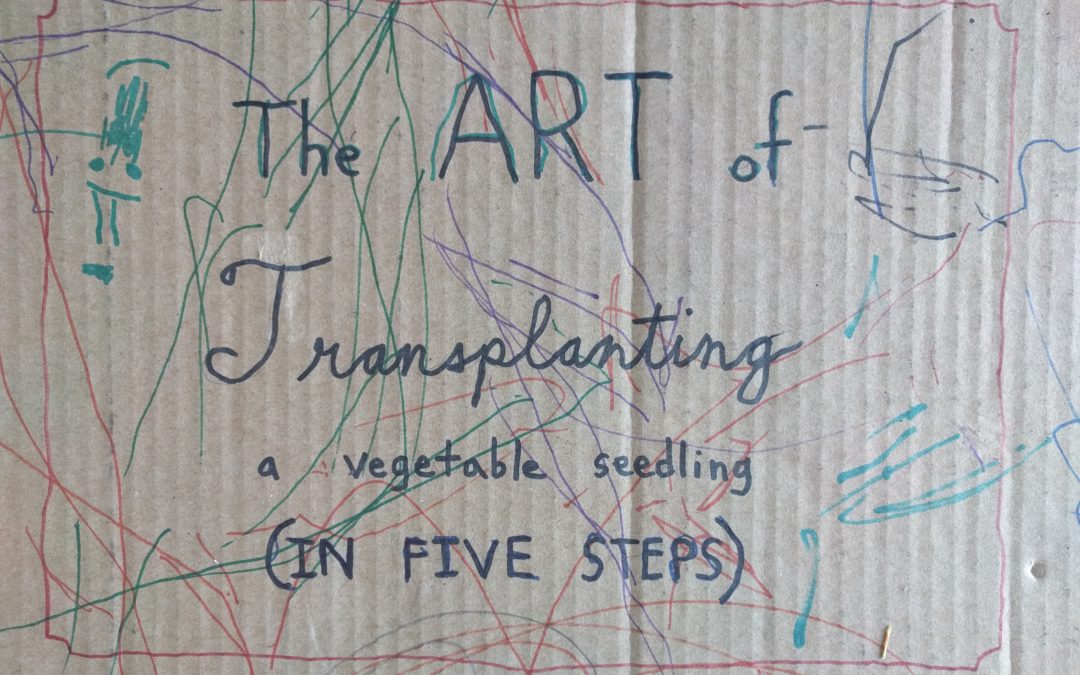
Transplanting vegetable seedlings is such a simple act, and yet there are better and worse ways to do it. There’s even an artfulness and fluidity to the process. Here are photos with captions describing the five motions that I go through.
It’s about getting the plant into a new piece of ground in the least stressful way, and it’s also about being efficient. This is the best method I know of, after having tried variations and additional steps. Below the photo sequence are details about and reasons for each step.

Some elaboration
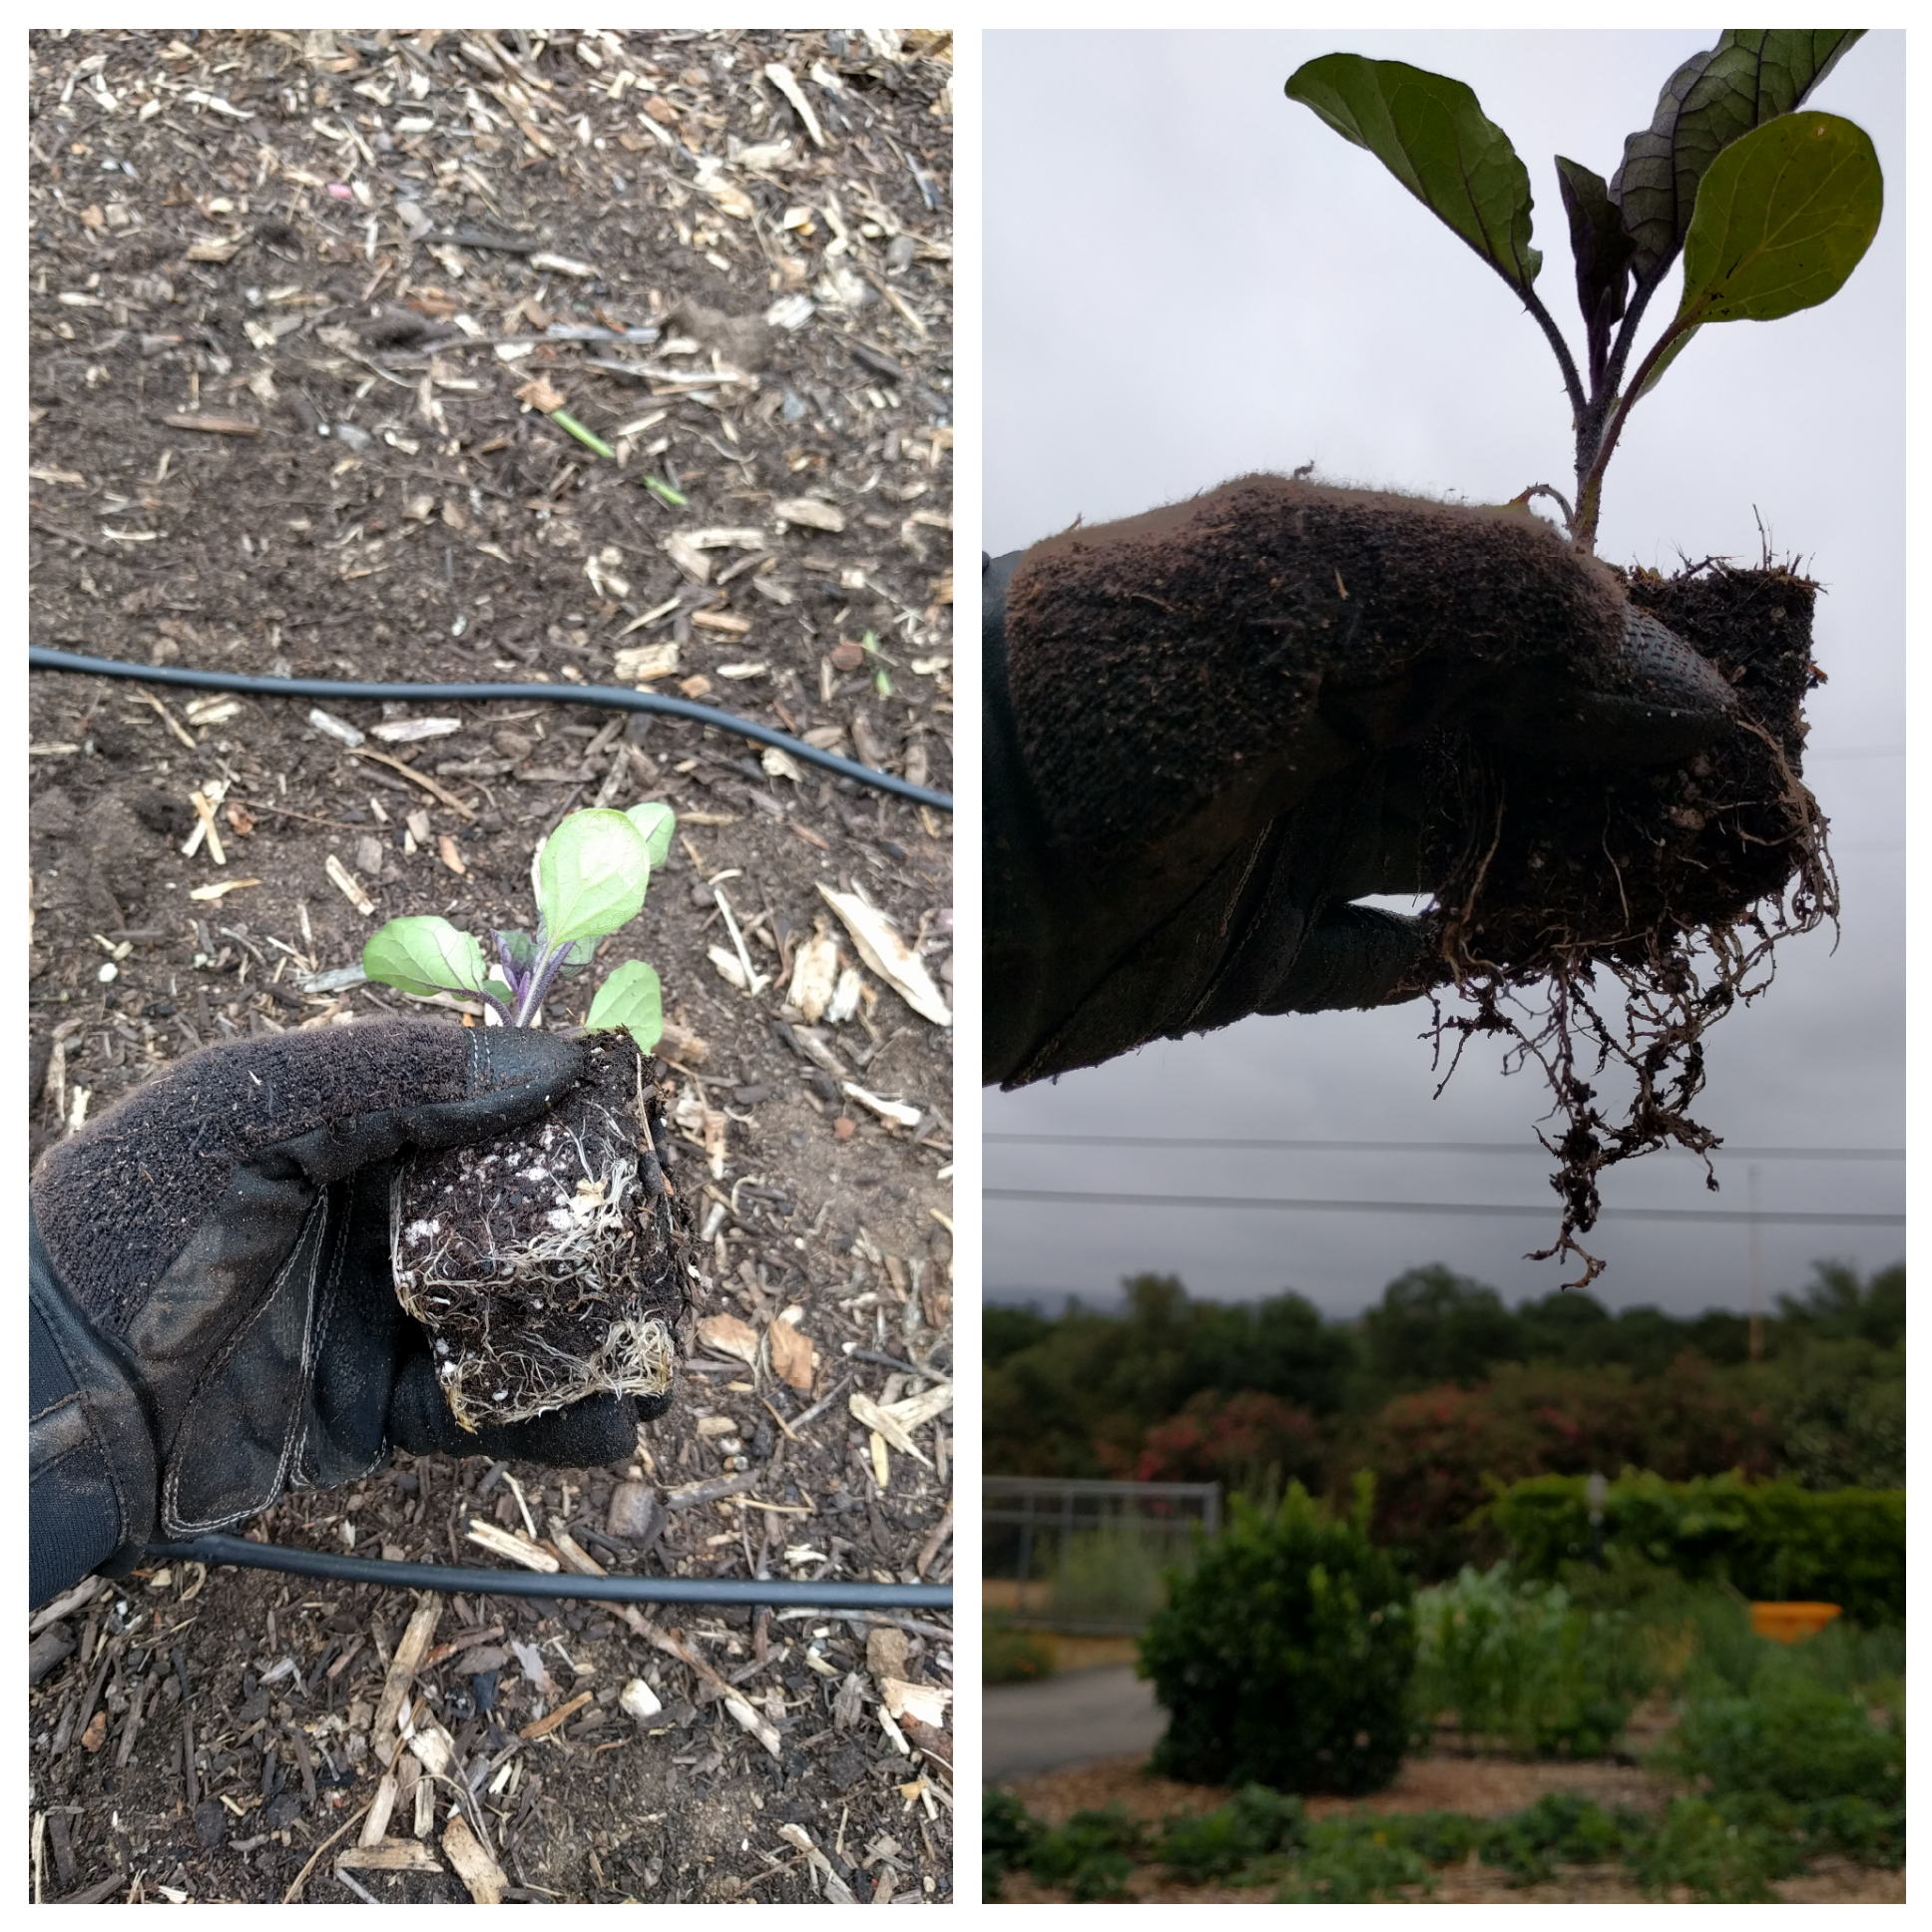
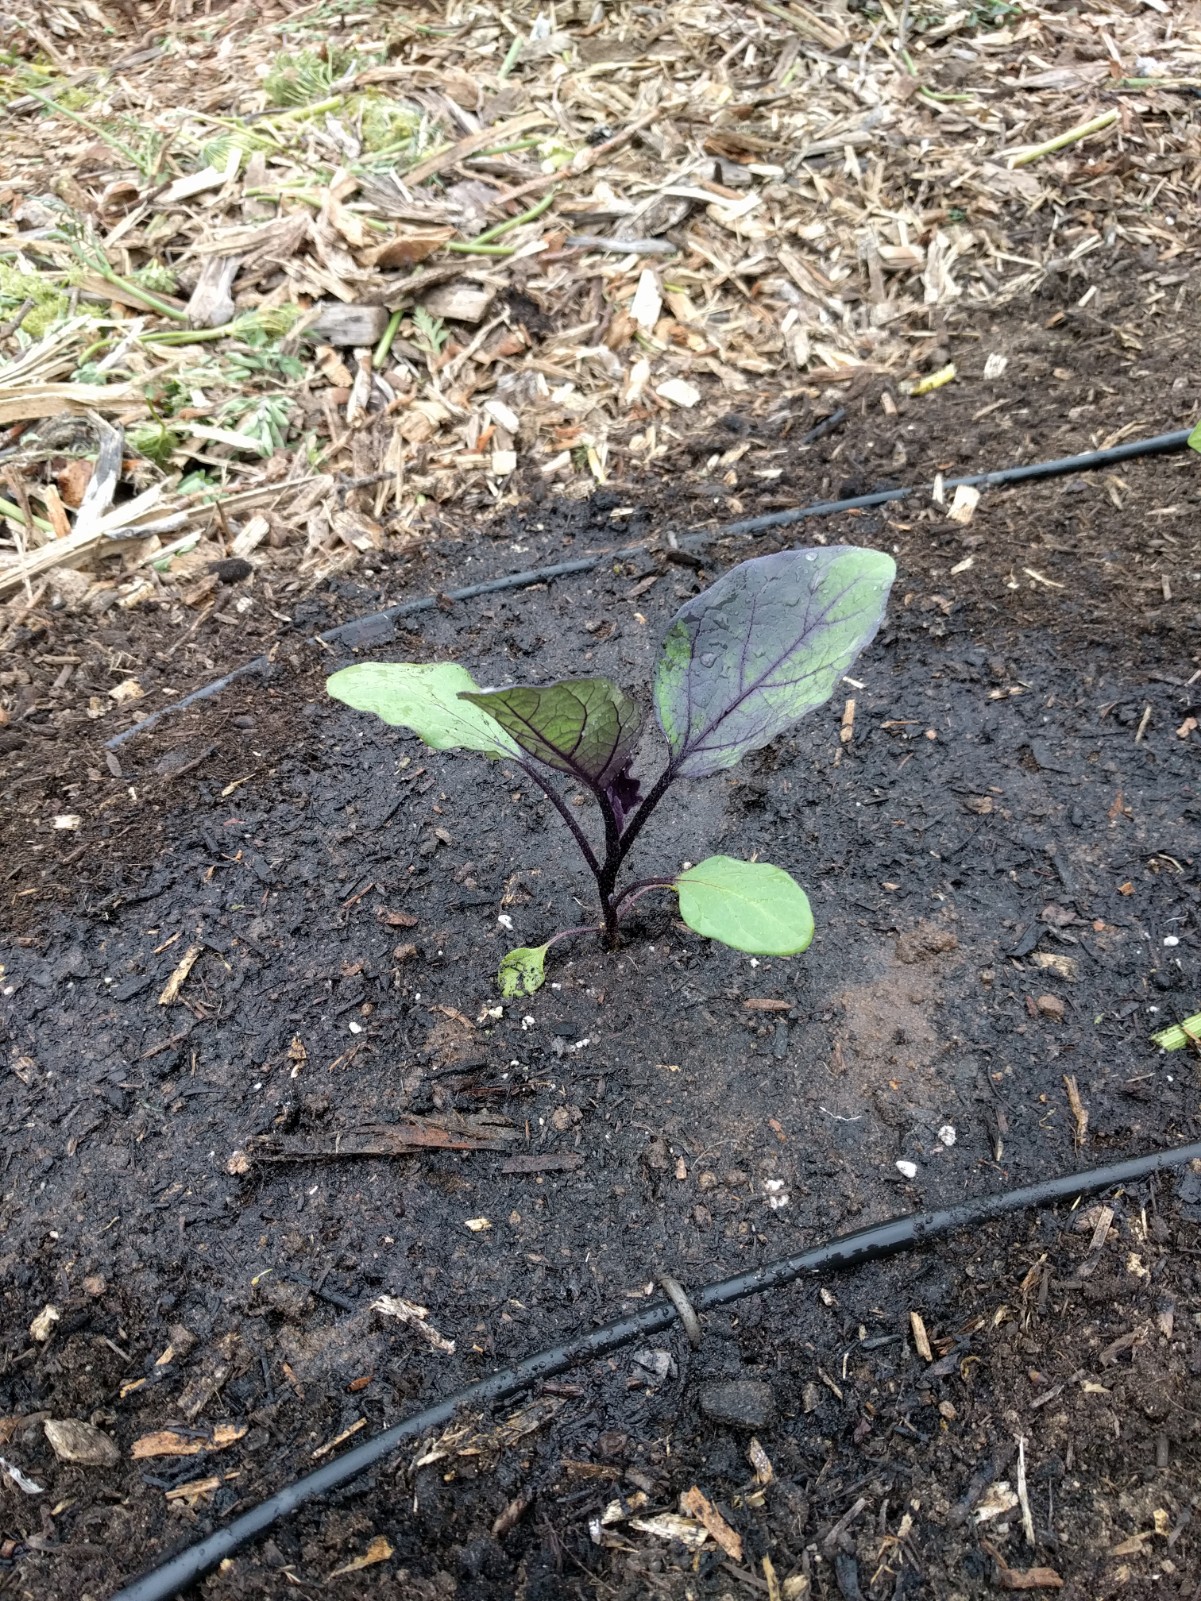
Step 1. Removing plant from container: Pictured is a small eggplant seedling in a six pack. If dealing with a larger plant, in a four- or six-inch container, I make a Star Trek sign with my left hand and put the V around the plant’s stem, then I turn the container upside down. A squeeze with my right hand is sometimes necessary to get the root ball to slide out.
Step 2. Teasing roots straight: Why tease the roots straight? If they’re circling and clumped at the bottom, then elongating them immediately gives them a larger and deeper zone of soil to draw water and nutrients from in their new home. It’s like giving them a larger root system.
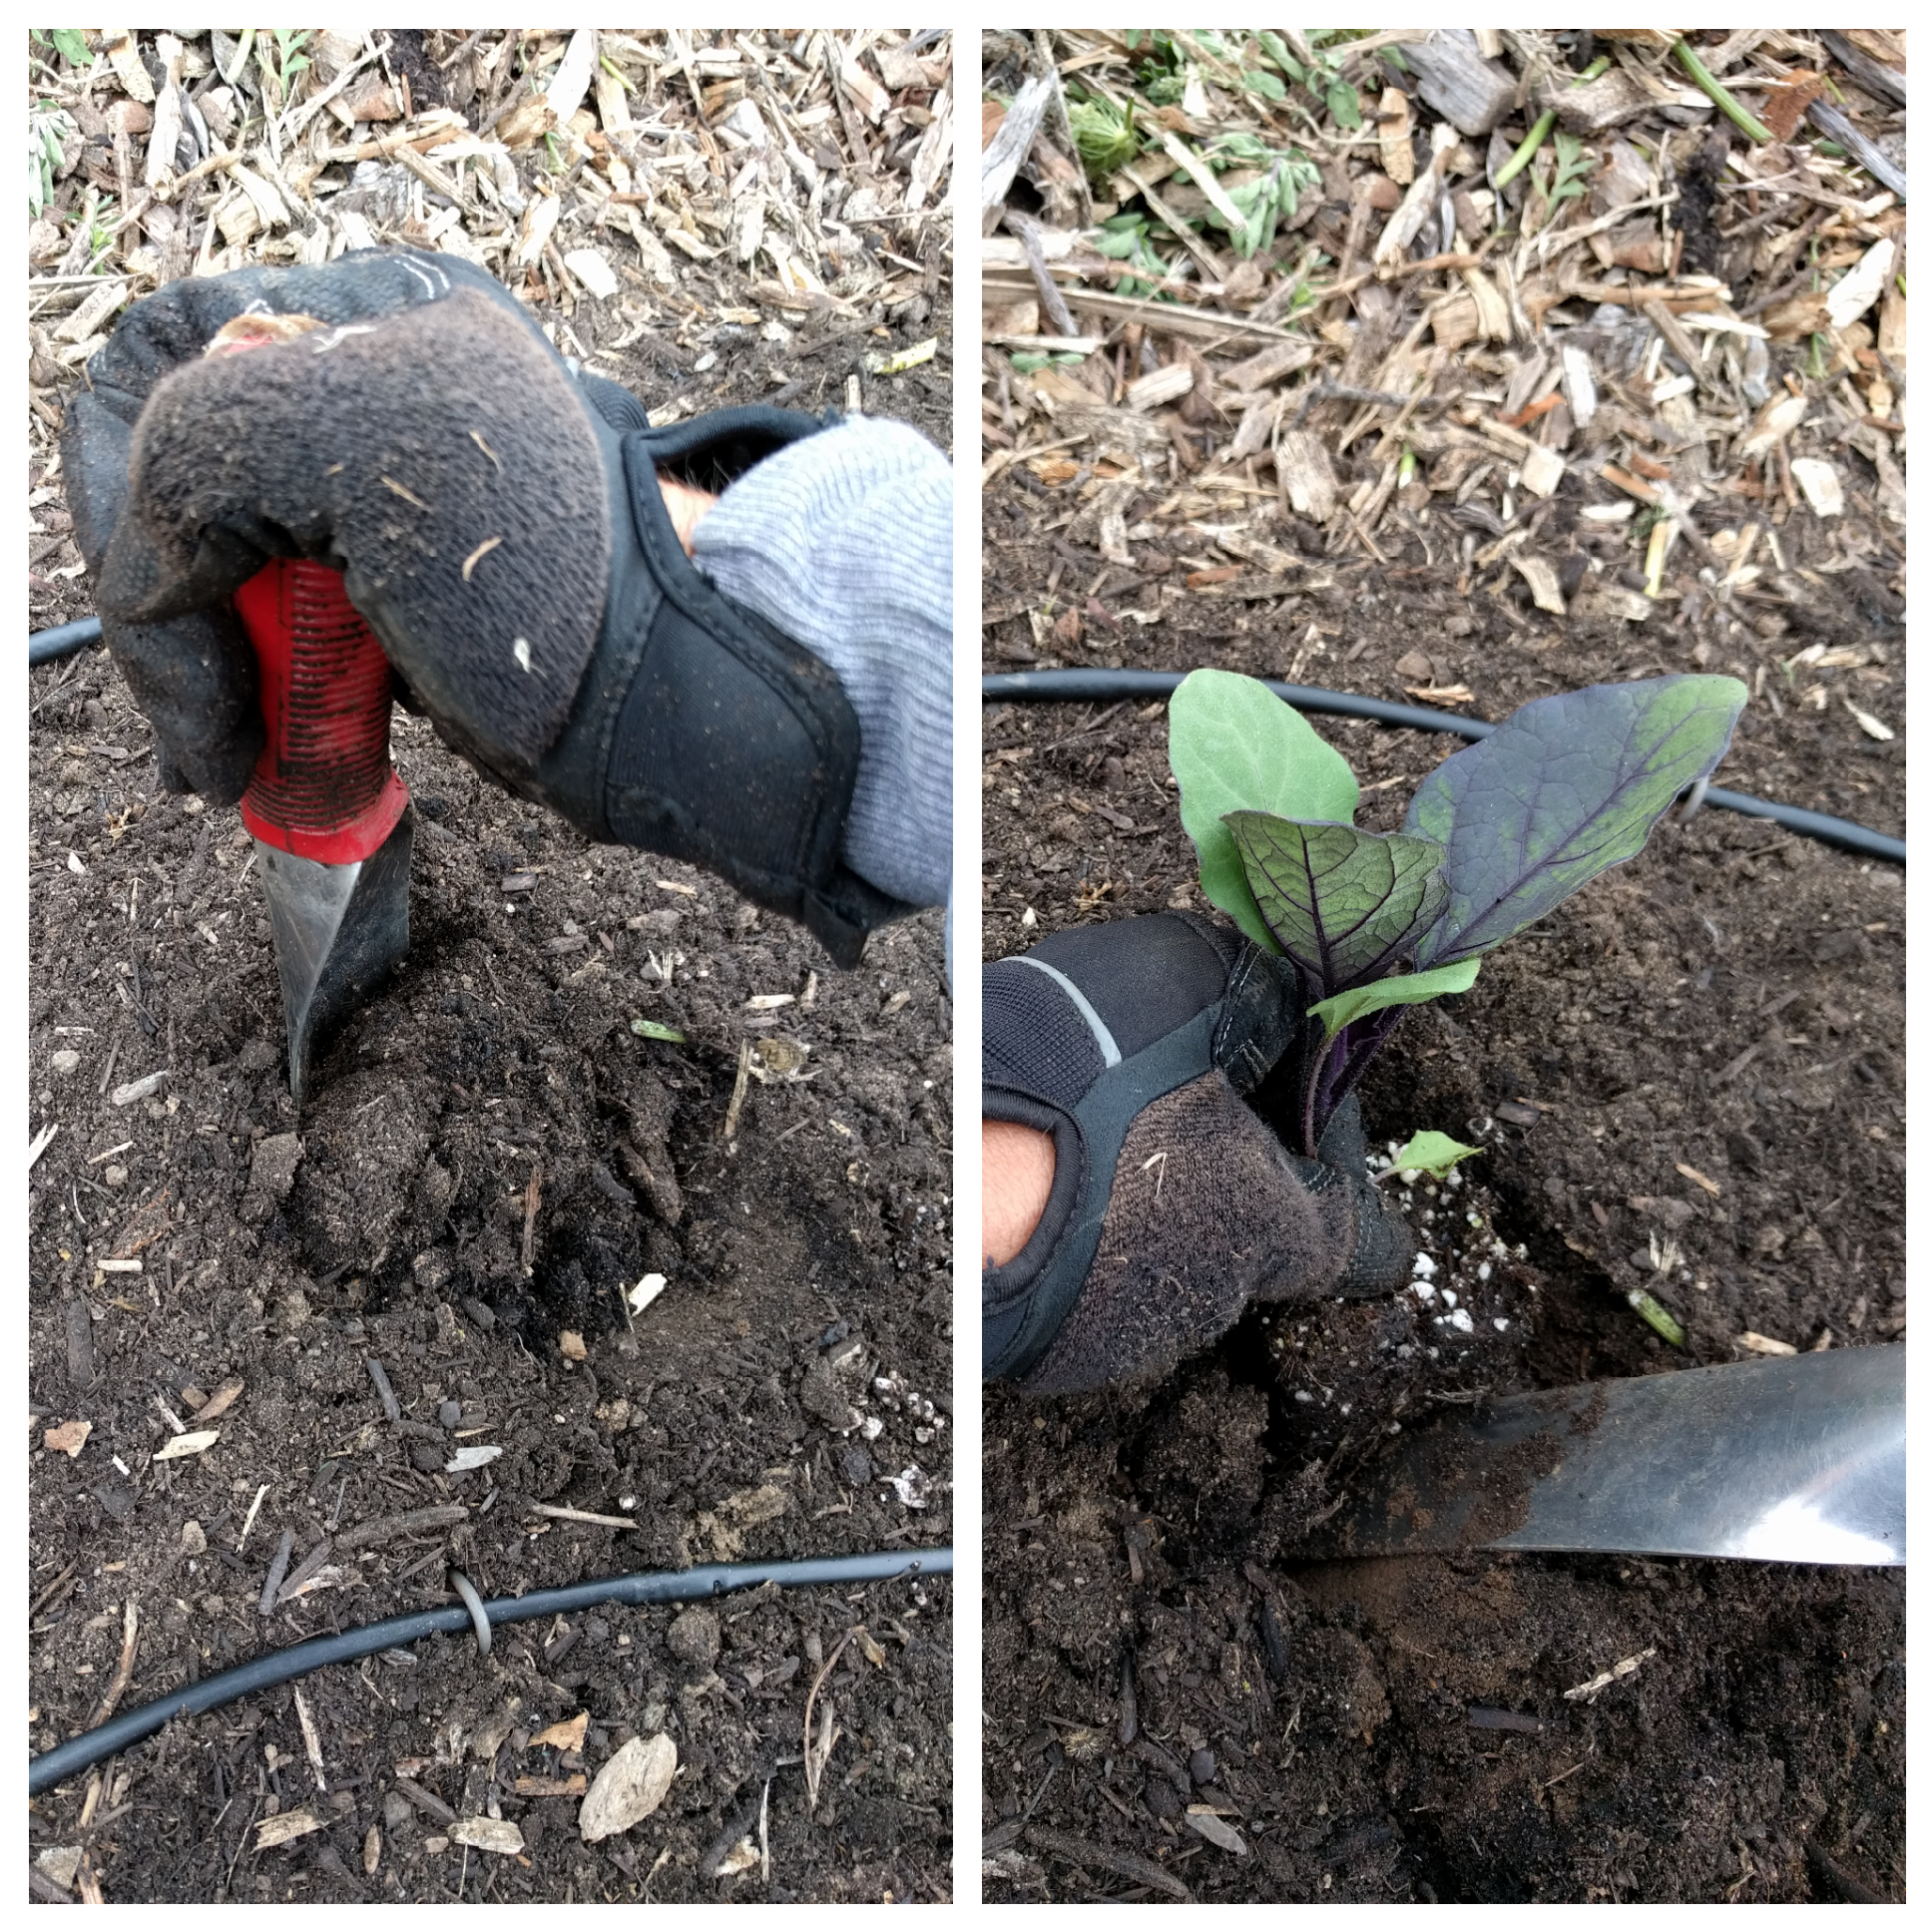
Step 3. Putting seedling into dirt: No biggie if you don’t own a trowel. Dig with a butter knife, or a stick, or just your fingers. My earliest memory of gardening is of my mother using a butter knife to do almost everything in her garden. I used a stick to do all vegetable transplanting in my gardens for a decade until my mother-in-law recently gave me a trowel for a Christmas present. I like it a lot, but it’s not required. Also, note that I call it an “opening” and not a hole. What’s the difference? Nothing, except that I want to imply that it doesn’t need to be big or deep and take a long time to make.
Step 4. Filling opening: Now’s the time to make sure the plant is upright and at the same level in the soil as it was in the container. Tug up on the stem or press down beside the stem as needed for adjustment. You may hear that tomatoes should be planted deeper. You can and they root along the stem, but I don’t bother. I’ve planted them deeper and planted them level and never noticed any difference in growth. On the other hand, seedlings of cabbage, broccoli, cauliflower, and kale can get long-stemmed and top heavy, and I usually plant them deeper in order to help them stand more erect.
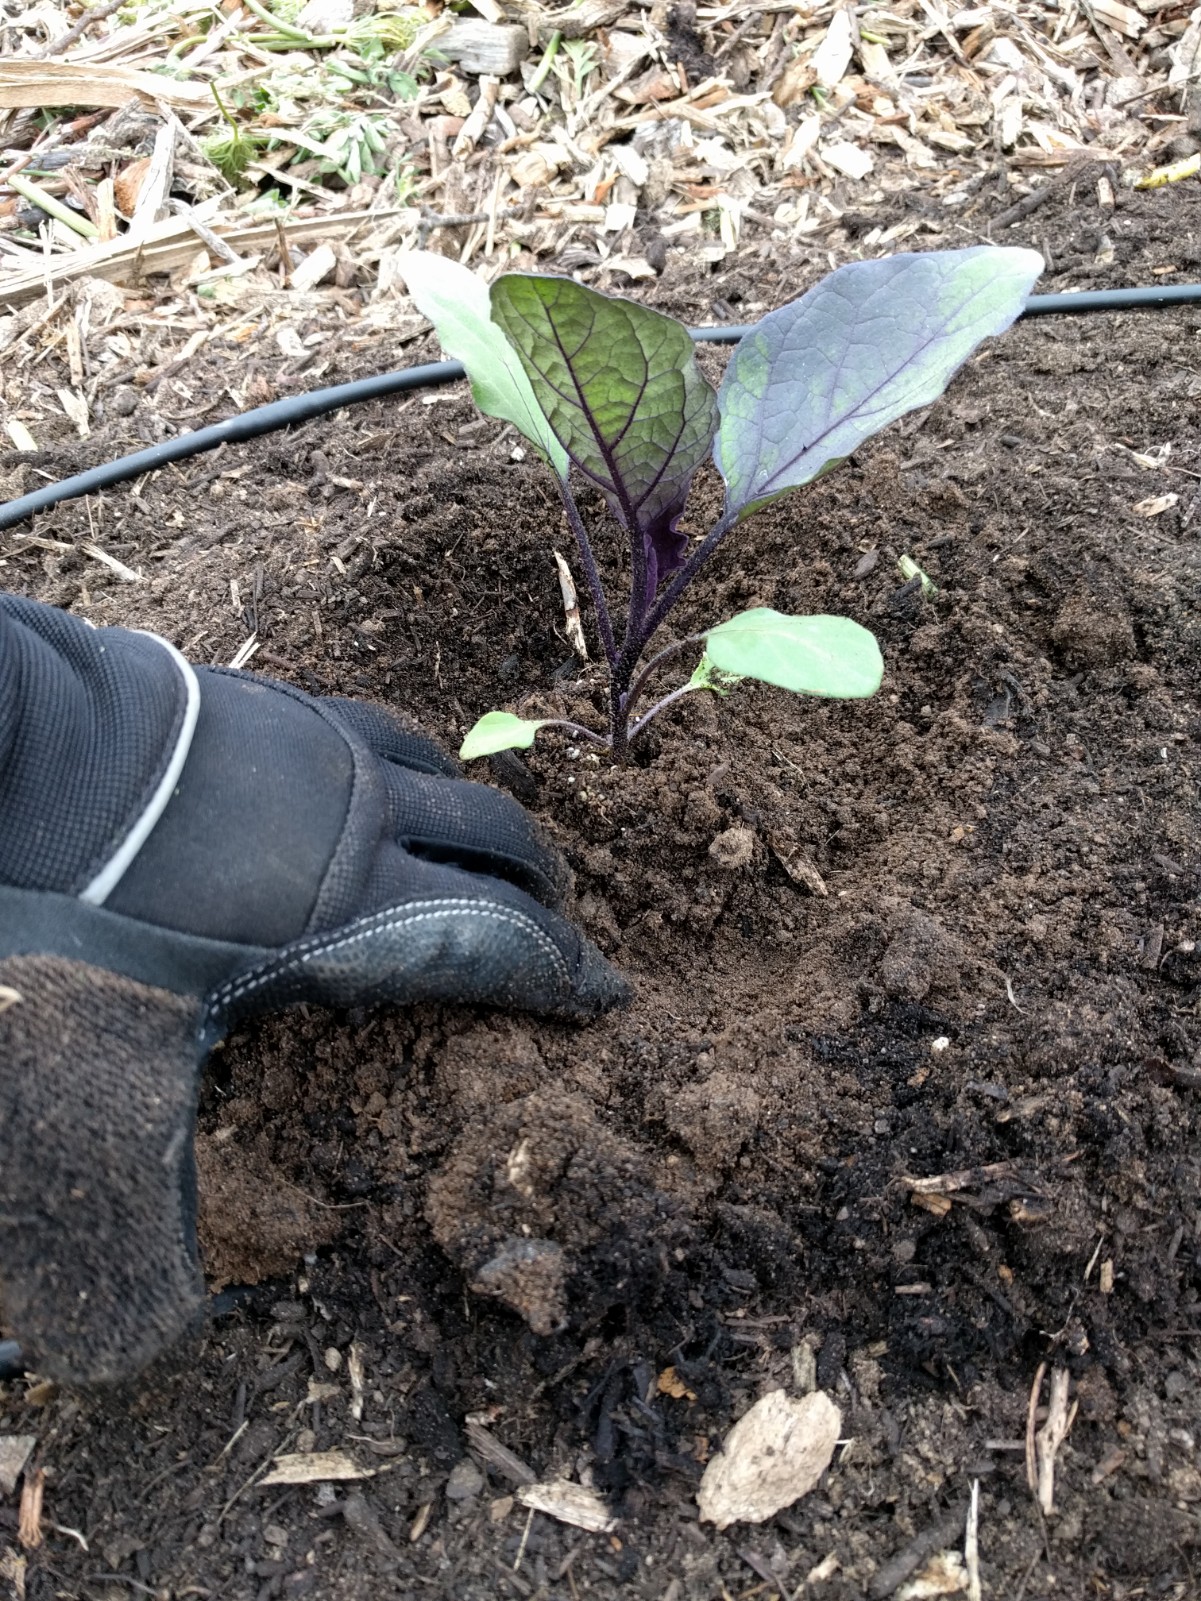
Step 5. Watering: Watering around the seedling is usually sufficient to establish good contact between the roots and soil, so no need to tamp around the seedling. Plants with big leaves might topple over when you water them. I make the Star Trek sign with one hand, palm up, and support the stem in the V as I water those plants in. (Until writing this, I never realized how often I make the Star Trek sign while transplanting. What does it mean?)
That’s the process. But what about adding fertilizer? I do know some very experienced gardeners who add fertilizer to the hole when they transplant, and that works for them; however, that’s not my style. I only add compost to the surface of the soil in my vegetable beds. (I wrote a post about this: Fertile soil can be child’s play.)
There are a couple of things to keep in mind before you start transplanting. First, it’s ideal if the soil in the seedling’s container is not dry. You want the plant to be full of water and not stressed before going through a transplanting. Also, the soil to be planted into should be moist — but not wet or dry. If it’s wet or dry it will be difficult to dig in.
Lastly, there is a best time of day to do transplanting: the cool of the late afternoon or evening. This gives the plant roots a whole night to establish a relationship with their new soil surroundings before needing to perform and support the leaves as they must do during bright sunlight. That being said, in winter or when it’s cloudy, time of day is not a concern.
And I said it’s such a simple act. Well, so is eating and sleeping and running and singing and . . .
Here are a couple other posts you might like to read:
“When to transplant vegetable seedlings?”
“Which vegetables can you plant now?”
All of my Yard Posts are listed HERE
Please consider becoming a Yard Posts Supporter

Hi Greg,
Hope you are doing well.
I recently used your extensive articles to get my first avocado and stone fruit tree (multi budded pluot) into the ground 🙂 … fingers crossed. Watering, watering and watering :).. Thank you for that! Will soon do more of the trees I’ve been saving in pots.
I had a question on seedlings that’s maybe related to your article above – if you think it might be useful to others, maybe you can expand on the article when you get a chance.
When do you transplant directly into the ground vs into a seedling pot (from a set of cells)? That is, when do you “pot up”? I’m assuming it’s some combination of variety of seedling, temperature, etc… Any guidance on this would be much appreciated. I’ve now been growing all my vegetables from seed (well, 99%) and have never once “potted up”. It seems to work fine but I’m wondering if I will have even greater success if I know when to do this. I use large extra deep cells (apparently “Each cell is 2 1/2” W x 2 1/4″ L and 3″ deep”).
I am trying to figure out if I should “pot up” my initial set of brassica seedlings or just let them get a bit bigger in place and then put them into the ground. But then I thought I’d check in to see if you have any general advice on this topic.
I generally plant 2 seeds per cell and sometimes thin and sometimes just split the 2 seedlings and plant both separately 🙂 … also wondering if I should be thinning as a rule.
Thanks as always!
-MB
Hi MB,
This is a great topic for a post. I think I’ll try to answer it in a post this coming week. Photos should help.
Hi MB,
I wrote a post on a narrow portion of your topic here: https://gregalder.com/yardposts/when-to-transplant-vegetable-seedlings/
As for the other parts, I sometimes plant straight from small cells (smaller than yours) into the ground and sometimes pot up into cells the size of yours for a few more weeks before planting in the ground.
I once compared sets of brassicas that I planted both ways and there was no difference in final growth and yield. So I only pot up if I don’t yet have the ground space ready for the plants in small cells or if I’m waiting for the weather to become more friendly.
Your routine with sowing and thinning sounds great. Since I usually sow into smaller cells, I thin to one plant per cell. I do this by using scissors to cut the weaker plants off at their base once they start to crowd. I also usually plant two seeds per cell for brassicas, but my numbers differ for some other crops.