
Garlic is the easiest crop to grow in a Southern California garden. Can you think of an easier one? If you use garlic in the kitchen, and you have a garden, there’s no reason not to have some growing out there through the winter.
I’ll explain why garlic is so easy, how to plant some, and then, if you like, you can get started this Thanksgiving weekend.
Sowing/Planting garlic
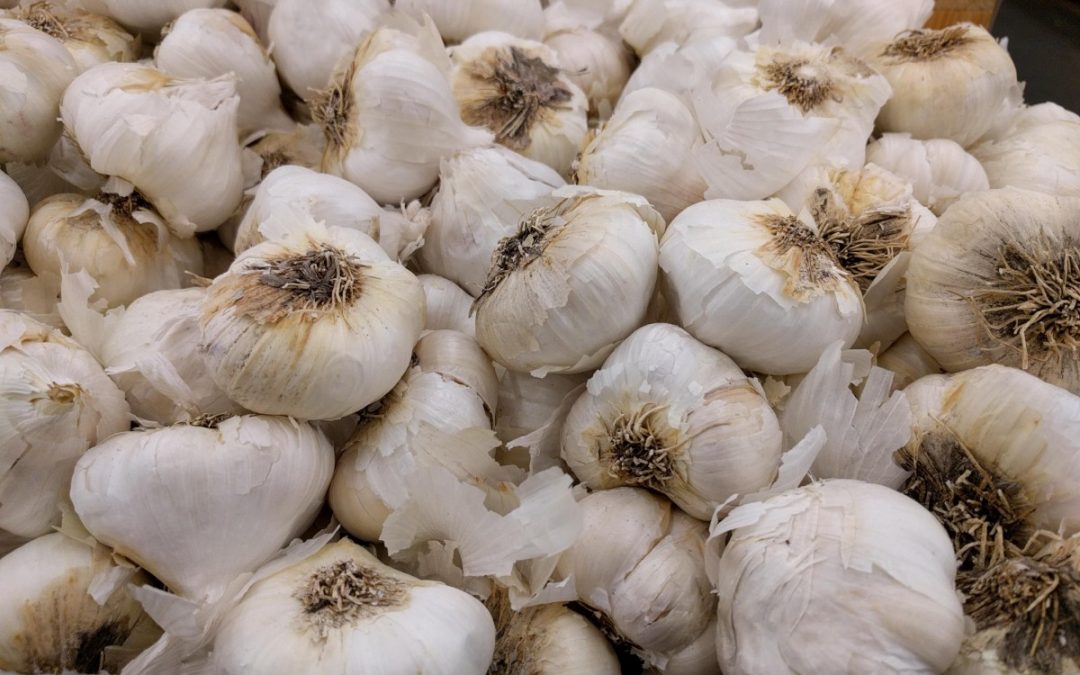
Everyone grows garlic not by planting seeds but rather by planting cloves. You’ve got a whole garlic head, and then you’ve got the individual cloves within. You just take one of those cloves and stick it in the ground, pointy side up.
Thoroughly soak the soil before planting or right after planting, and then there’s no need to water again until after green shoots are up and growing.
To plant each clove, I use a stick to make a hole in the dirt a couple inches deep, push the clove into the hole such that the pointy top of it will be covered by a little dirt — no more than an inch is necessary. Cloves can be planted about a hand’s width apart, 3-6 inches.

Cloves set out, ready for planting.
None of these planting parameters are precise, you’ll notice, which is why planting garlic is perfectly suited to haphazard gardeners or busy gardeners or gardeners with children to help. Who am I leaving out?
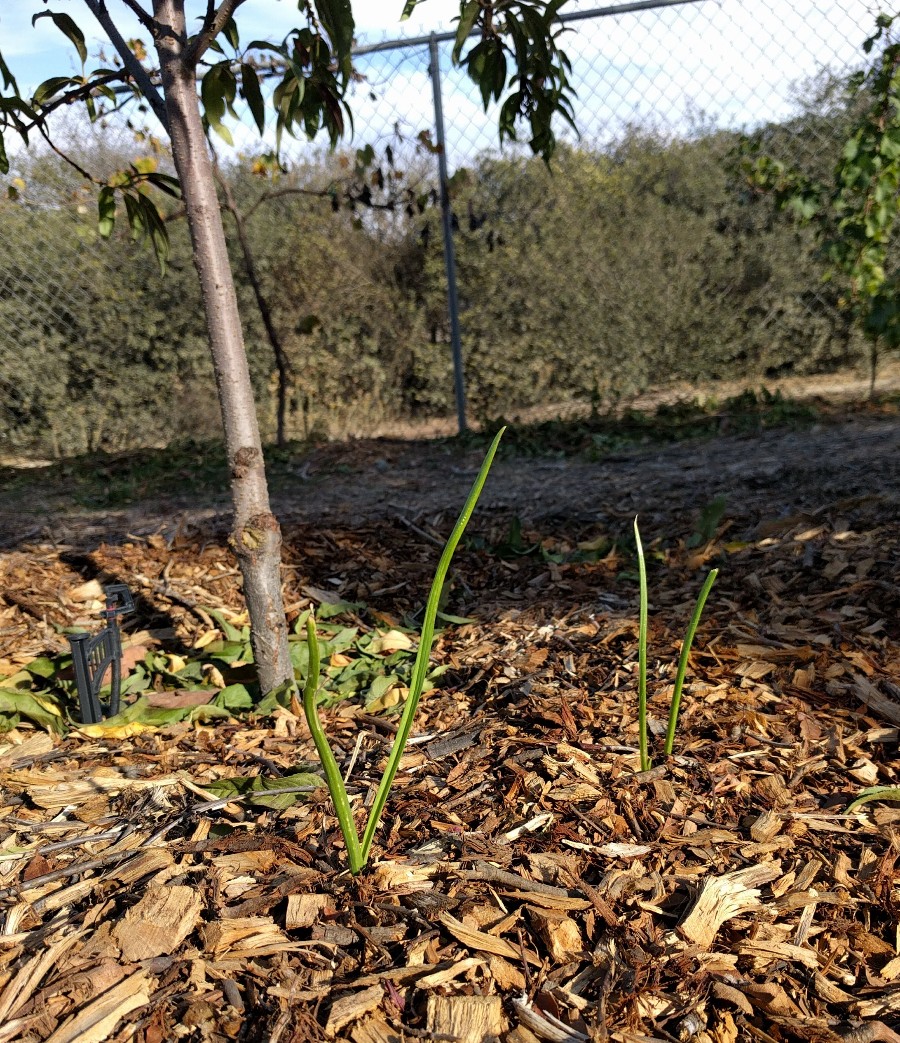
Garlic can even push through several inches of mulch. Look at these ones, planted under a nectaplum tree:
It’s said that bigger cloves produce bigger heads of garlic, and therefore to only plant the biggest cloves out of each head. I’ve never tested this advice, but it sounds plausible and I have always followed it.
When to plant garlic
Plant garlic in the fall. Looking over notes from past years, I’ve had successful garlic crops in gardens near the beach as well as inland on dates ranging from as early as October 2 all the way into December.
I can’t say what the results would be if you planted much earlier or later. What I have observed, however, is that garlic cloves that I’ve accidentally left in the ground through summer have started growing on their own in the fall, which leads me to suspect that garlic sown too early will just wait for fall conditions before they’ll sprout. Here is one such example:
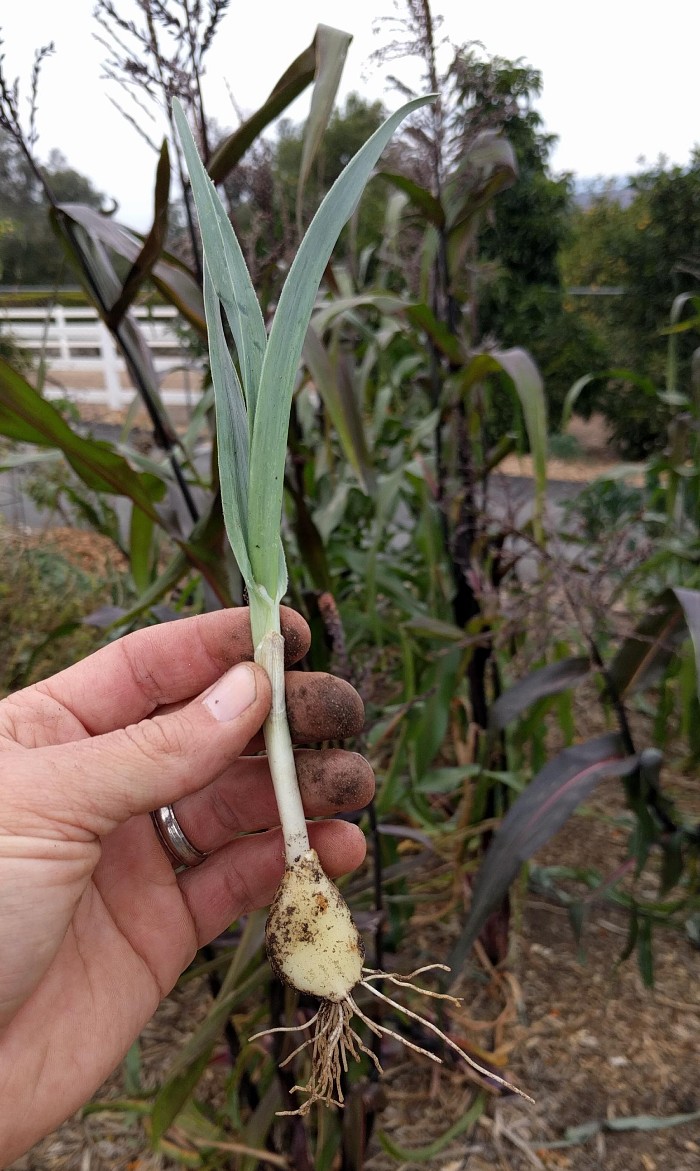
I pulled this volunteer up on November 19, and I’d guess it has been growing for approximately a month or a little longer.
Garlic “seed” and varieties
Garlic is so easy that you don’t even have to buy special garlic cloves for planting. Most of the garlic I’ve grown over the years has come from heads bought at a grocery store. (See more about this in my post, “Gardening at the grocery store.”)
When I buy garlic at the grocery store for planting, I aim to buy garlic grown in California, figuring the variety is more likely to be suitable. The U.S. actually imports a lot of garlic from China.
I also aim to buy organic garlic if possible, figuring they will be tougher, as organic crops aren’t as protected by pesticides, herbicides, etc. But I’ve also had non-organic garlic grow fine as well.
You can also buy garlic meant for planting at nurseries and through seed companies. These sources are more expensive — about three times more expensive — but do offer far more variety. Peaceful Valley, for example, has a large selection and I’ve had good experiences buying from them in the past. You can try garlic with purple streaks in them, tall “hardneck” varieties (which get tall and make a beautiful pom-pom flower on top), ones with especially mild or strong flavor.
How garlic grows
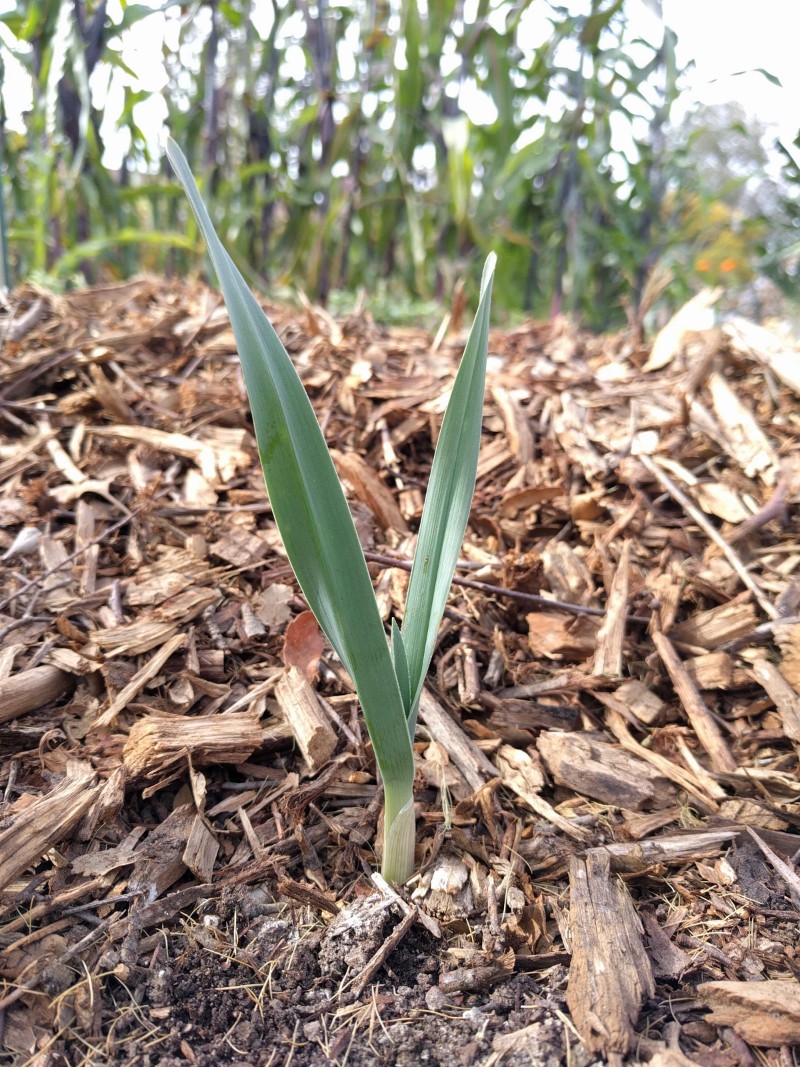
Soon after fall planting, the clove sends up green shoots. They’re skinny, tall, and vertical. They’re green all through winter, and you can cut one here and there to add to meals where you want a bit of garlic flavor. Stir-frying these garlic greens is particularly delicious. This is what we do when we don’t have garlic cloves.
I’ve found garlic to grow well with about as much water as we get in the form of rainfall in an average winter, say 12-18 inches, which means it’s possible that you won’t need to water the plants at all from sometime around Thanksgiving through March. This is one of my favorite aspects of growing garlic. We don’t have many other vegetable crops that are so suited to our climate.
Just be aware of how typical the winter rains are falling in any given winter. Last winter, 2017-2018, I had to water my garlic because rains were particularly sparse, but the winter before I didn’t.
In spring, the garlic plants mature and leaves start to yellow. At this time — it’s usually in late April or May — you can cut off any watering you have needed to give them. There will be enough residual soil moisture for the heads to complete formation, and then you also want the soil to dry before harvest because it will be easier to clean and cure the heads, plus less likely that they mildew.
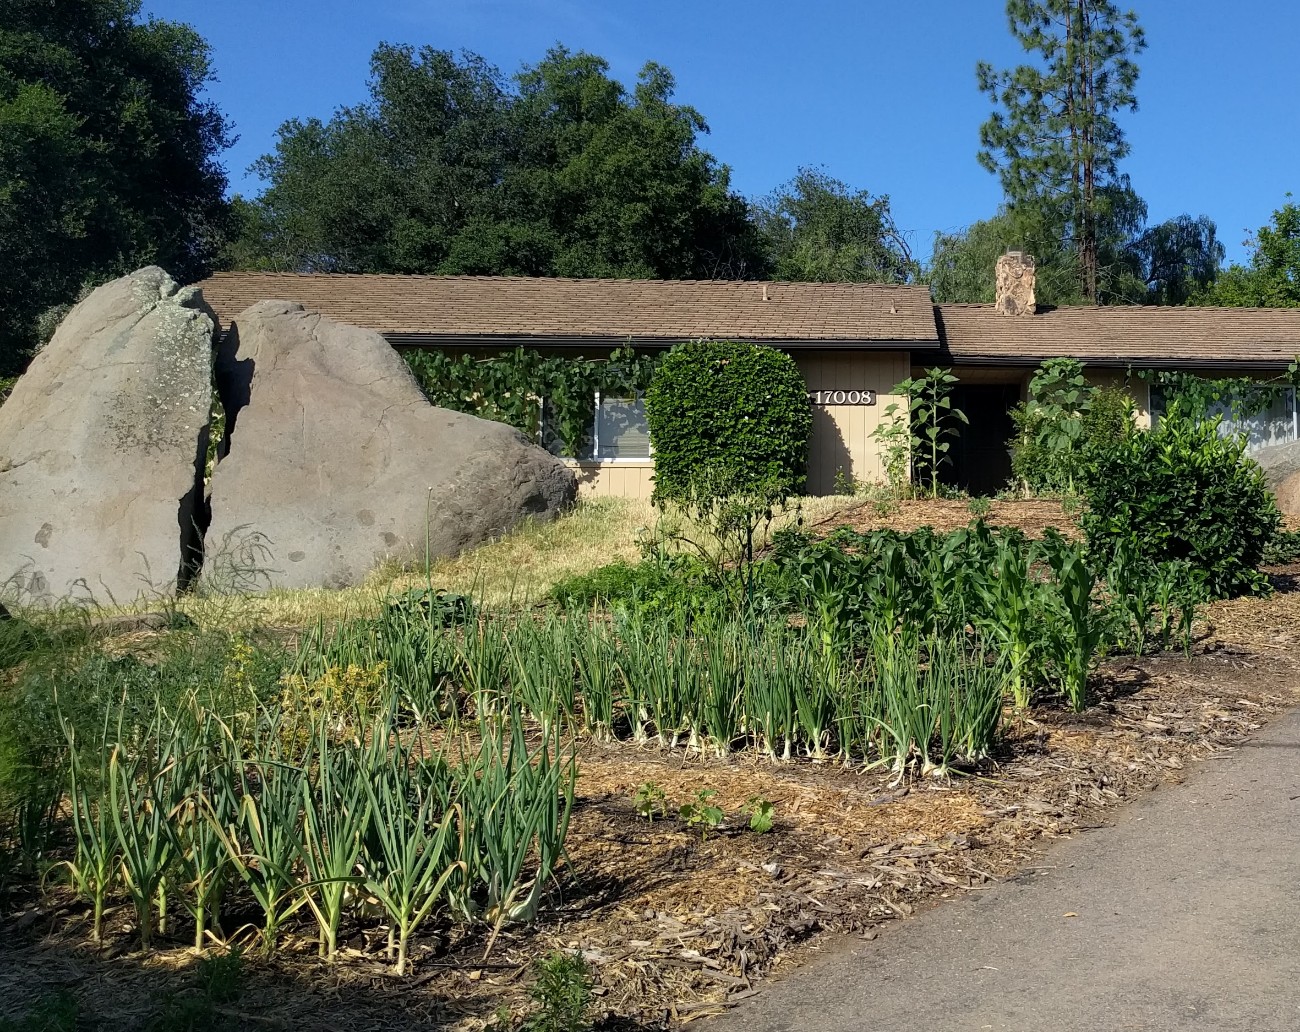
Springtime: garlic plants in the foreground; onion plants in the bed just uphill. Both about ready to have irrigation ceased.
Harvesting garlic
What we’ve all been waiting for: it’s probably June and most of the leaves are yellow, maybe some on the bottom are brown. Don’t yank on the stalk! To get the garlic heads out of the ground, use a garden fork or a trowel or a shovel or a stick to help lift the garlic heads out of the soil as you gently tug on the stalk or else you might tear the stalk right off the head.
You can eat it right at harvest or you can prepare it for storing if you have harvested many heads.
Storing and replanting garlic
To prepare for storing, further dry each garlic head by either laying it on the ground in the garden for a couple days up to a couple weeks (depending on how warm it is and how dry the garlic was at harvest), or by placing it in a garage or under a porch. Warm and dry are the environmental conditions you want. This gets the garlic heads to a state where the outer skin is totally dry and papery, and the garlic can be considered “cured”, meaning it will store well.
If you want to braid the stalks and hang them, which looks so cool, just make sure to do that before the stalks are totally dry or else they will crack up and the heads will fall off. If the stalks are totally dry, you can cut the stalks off at the neck — about an inch above the head — and store the heads in a mesh bag (so there’s airflow around them). Stored in either of these ways, the garlic heads should keep well through summer into fall.
If you’re looking for maximum storage time, the researchers say that ideal storage conditions are as cool and dry as possible. Near freezing temperature is best, and so is a humidity of 60-70%.
Sometime in the fall, my stored garlic starts to sprout. It’s still edible, but it’s also planting time again so I start sticking some cloves in the ground. It’s possible to use your own garlic as “seed” and never need to buy additional garlic for planting.
Growing garlic is so easy
“Seed” for growing garlic is readily available and cheap. Since it grows through winter, it requires little watering. Your harvest can be stored for months, and your harvest can be used for the following year’s planting. I’m not making it out to sound easier than it is, honestly.
On top of all of this, you’ll notice that I mentioned nothing about pests or diseases. I’ve never experienced any. I’ve never heard of fellow gardeners around here with any.
I’ve even got lots of gophers in my yard, and they don’t bother my garlic. I’ve got lots of rabbits, and they’ve never shown interest in my garlic. Insects? None seem particularly attracted. It all sounds too good to be true, I know. You have to try it for yourself.
You might enjoy watching:
In this video Charles Dowding, a market gardener in England, walks you through his garlic cropping season. There are minor differences due to climate, but it’s still well worth a watch.
You might also like to read my posts:
Growing peas in Southern California


I can’t wait to grow garlic! Loved this post!!!
do you ever verbalize your garlic cloves before planting?
The b is close to the n.
Greg – great stuff! I’m getting ready to follow your lead and can’t wait to see what happens! A question on another subject: any experience with growing asparagas? I would love to try, however must consider that with only a couple of plots at the community garden, I will have to dedicate space for the long term. In addition, I believe it takes a few years to get a crop? Any tips, ideas etc? Love your posts!!!!!!
Hi Judith,
Thank you. I do have a small asparagus patch within one of my vegetable beds. I started it about five years ago with bare-root crowns in winter, and it has been an easy crop to grow. No pests or problems, really. But I don’t know anyone else who has asparagus in their garden around here so I don’t know if I’m just lucky.
For your situation, asparagus might take up too much space to be worth it unless you love asparagus. If you plant it, put it on the north end of your plot because in fall and winter it’s almost as tall as a person and will shade any vegetable planted to the north of it.
Also, it’s taking up space year-round even though you’re not harvesting it quite year-round. That’s a bit of a disadvantage in a situation like yours. However, at least it’s something you only plant once.
I started eating a few spears from my plants in their second year. I just tried not to eat many and the plants didn’t mind. Five years on now, I don’t think I could kill the plants. In fact, I’ve tried to kill some because the patch was too big and we weren’t eating enough, but spears just keep popping up.
I eat almost all of our asparagus right there in the garden. I snap off a spear and eat it raw. Initially, I planted it for my wife because she really likes asparagus, but I’ve come to like it more now since it is both much crisper and less fibrous from the garden compared to the store. It is one of those plants that is leaps and bounds better when homegrown.
so fun! I’m going to grow garlic!!
I started garlic ones bought at nursery. I planted in spring. Right now my pot i have them in is full of green. Its been cool this dpring but summer is coming. What can i do right now so o don’t lose them.
Hi Pat,
I’ve never planted garlic in spring so I don’t know when yours will mature or how well they will. But what garlic does is grow those green leaves for a long time and then it starts to yellow and the leaves die, starting at the bottom. Once this happens, stop watering.
You can then dig down a little to see how big the bulb is. You can harvest right then, or you can wait for the whole top to brown and die.
But in short, just keep them watered until they start to die naturally.
Well, I have gophers and there was nothing left of my garlic 🙁 This time will try in a raised bed.
Hi M.G.,
Good to know that apparently some gophers do eat garlic. Maybe I give them too many other plants to eat that they prefer.
Hi Greg,
I’m growing garlic for the first time in a raised bed of 30” high. I have green shoots about 4” tall now. Excited about growing garlic. I have tried in the past to grow garlic in the ground, but snails and slugs feasted on the green shoots. No green shoots………no garlic!
About a month ago in the tail end of September I bought some garlic, when I got home I saw the wife had an old bunch of garlic lookin’ sorry in the fruit basket. So I busted it up and put the cloves in the ground. It is growing like crazy, it is nice to have a success in the garden. I did not know this was the right time to plant garlic, got lucky on this one!
There was a gopher in the vicinity that kept ignoring the poison bait(Gopher Bait 50 by Martin’s), but I got it with a trap with shredded apple leaves for a lure. Apple leaves seem to improve the response time. I would say 90% of my gopher control is with poison, when that fails I use the traps.
What a post for this lazy gardener! Garlic will be in the ground by the end of next weekend. I’m sold. Thanks Greg!!
Thanks for a great post!
Question: You say to water well before or after planting and then there is no need to water until garlic sprouts. Does that mean it’s a bad thing if the area gets water? I was thinking about planting some bulbs amidst my broccoli and cabbage. I have some drip and sprinklers that water the area every other day.
I’m going to plant this weekend!
Hi Vickie,
Your watering should be fine. What I meant to say is just that garlic doesn’t require much water beyond the rain we naturally get in a normal year. Because of this, my routine is to make sure the soil is thoroughly wet down to at least a foot deep before sowing the cloves, and then the cloves start to grow on that moisture in the soil, and then the rains usually take care of the rest for the remainder of winter into spring. But there’s no problem with giving them extra water.
Thanks for all your info… will be planting the garlic & hope it may also curtail those gophers (my most prolific “ crop”)! My sister-in-law said she had heard that garlic will deplete the soil of nutrients & so should plant alternating years??? Sounds like no problem with your crops!
Hi Donna,
I’ve never heard this and have never seen evidence of it. I would just treat the garlic as you do any other vegetable.
Near the coast in SoCal we have no frost. Would it be useful to store the garlic in the refrigerator or freezer prior to planting? For how many weeks. I have tried grocery store garlic and elephant garlic. Cloves are small or non-existent. Could that be lack of fertilizer or lack of frost? What fertilizer regime would you recommend? Thanks!
Hi Gary,
I’ve never used any fertilizer on garlic, and I’ve grown it in my previous garden near the San Diego harbor where there’s never frost. The only times I’ve had very small cloves are when we had little rain over the winter and I didn’t irrigate the garlic plants, or when I planted too late.
You didn’t mention anything about how much sun garlic needs in Southern California. Should they be planted in full sun? Are they OK with partial sun?
Hi Sean,
I’ve grown them in both, and had fine results in both; however, the garlic plants in full sun have tended to produce bigger bulbs. I’m not sure that this is because of the extra sun though. I often have garlic growing under fruit trees and partially in their shade, and I don’t water these plants as much as I water those in full sun in my vegetable beds so it’s not a fair comparison.
I’d say you should plant garlic in full sun if you can, but garlic can definitely yield moderately well with some shade too.
Doesn’t garlic need winter chill? Or are there certain varieties that can be grown in this climate? Do you have any recommendations of places to buy garlic that can be grown here in San Diego? You didn’t mention in your post of refrigerating your garlic before planting them. I would love to know what varieties you plant. Thanks!
Hi Karen,
I just plant whatever I have on hand. It can be a head from the grocery store or one that I buy from a nursery or one that I have leftover from the previous year’s garden. They all grow equally well.
I’ve never found a variety that doesn’t grow well in our climate, and I’ve never refrigerated them.
If you have a particular kind of garlic that you like to eat, try growing that kind.
I planted a bunch of garlic seed in containers and with the green recently poking through realized I had planted too many, too close (4 in apart, 6 in apart is better in a container) and I can attest to the larger cloves having gargantuan roots systems vs. the smaller cloves I pulled out. This is probably why the larger cloves make larger heads of garlic!